Creating SQL Users
Nectari provides scripts to create dedicated SQL users with administrative or limited access. You must run the scripts after the Nectari installation. These users will be dedicated to Nectari for customers who do not wish to give their sa user credentials. One of the advantages is that the SQL user password does not need to be changed, contrary to the sa user who is based on a Windows authentication.
Creating dedicated SQL users is highly recommended for security reasons. SQL users should be configured with restricted permissions on the SQL Server. This applies to SQL Users who will connect to the Central Point, any SQL User configured in the Manage Environments and Data Sources page, and SQL users connecting to DataSync.
These scripts must be run with a user with administrative permissions on the server.
Follow these general steps:
Step 1: Create SQL administrative users
Step 2: Create SQL users with minimum permissions
Step 3: Add the SQL users in Nectari
Additional scenarios:
You can grant or deny these users access to specific database schemas, or alter their access.
Step 1: Create SQL administrative users
Administrative users will have access to all components:
-
Nectari Configuration database: The Nectari Configuration Database script creates the Nectari user.
-
BI License: The Nectari License Database script creates the BILicense user.
-
NectariCube: The Nectari Data Warehouse script creates the NectariCube user and grants that user permissions for each database.
-
ERP database: The X3 Production or replication database script provides the administrative user with access to the database schemas.
NoteSage X3 is provided as an example only. You need to change the parameters according to the ERP database you are using.
The script applies to components that are installed on the same server. If some components are installed on different servers, parts of the script must be run on specific servers. For example, if Nectari is on an application server, you must run the Nectari Configuration Database and Nectari License Database scripts on that server. If the NectariCube and ERP database are on a database server, you must run the Nectari Data Warehouse and ERP Database scripts on the DB server.
To create an administrative user:
-
Run the Administrative_user.sql script. Refer to the instructions inside the script to provide the proper user names.
/* Script to create users for Nectari with administrative permissions. Needs to be run from a user with administrative permissions on the server.
** Instructions:
**   - Replace "userWithAdministrativePermissions" with a name of your choosing for the SQL user
**   - Choose a password for this user
**   - Replace "NECTARI_CUSTOM_SCHEMA" with the name of the custom Nectari Schema (if unsure, check the Env. & Data Sources screen)
**   - Replace "X3FOLDER" with the name of the X3 folder used by Nectari (if unsure, check the Env. & Data Sources screen)
*/

CREATE LOGIN userWithAdministrativePermissions WITH PASSWORD = '' -- Creates SERVER user, part of default group public with minimum authorizations

-- Nectari Data Warehouse
use [NectariCube]
CREATE USER userWithAdministrativePermissions FOR LOGIN userWithAdministrativePermissions -- Creates DB user if a login exists at server level
ALTER ROLE db_ddladmin add member userWithAdministrativePermissions -- Manipulate objects on the Nectari warehouse DB (create, drop, ...). Can be more restrictive with REVOKE ALTER on SCHEMA :: [NECTARI_CUSTOM_SCHEMA] to userWithAdministrativePermissions
ALTER ROLE db_datareader add member userWithAdministrativePermissions -- Select
ALTER ROLE db_datawriter add member userWithAdministrativePermissions -- Insert/Update/Delete
GRANT EXEC to userWithAdministrativePermissions -- Execute stored procs of the DB

-- X3 Production or replication database
use [x3]
CREATE USER userWithAdministrativePermissions FOR LOGIN userWithAdministrativePermissions -- Creates DB user if a login exists at server level
GRANT ALTER on SCHEMA :: NECTARI_CUSTOM_SCHEMA to userWithAdministrativePermissions -- Gives full rights to alter custom Nectari schema objects
GRANT SELECT,INSERT,UPDATE,DELETE,EXEC on SCHEMA :: NECTARI_CUSTOM_SCHEMA to userWithAdministrativePermissions -- Grant full rights on custom Nectari Schema objects
GRANT SELECT on SCHEMA :: X3FOLDER to userWithAdministrativePermissions -- Gives read access to all tables of the X3 folder
GRANT CREATE TABLE to userWithAdministrativePermissions -- Gives permissions to create tables but only to the schemas have the ALTER authorization
GRANT ALTER on SCHEMA :: X3FOLDER to userWithAdministrativePermissions -- Gives permissions to create triggers

-- Nectari Configuration Database
use [NECTARI]
CREATE USER userWithAdministrativePermissions FOR LOGIN userWithAdministrativePermissions -- Creates DB user if a login exists at server level
ALTER ROLE db_ddladmin add member userWithAdministrativePermissions -- Manipulate objects on the Nectari warehouse DB (create, drop, ...). Can be more restrictive with REVOKE ALTER on SCHEMA :: [NECTARI_CUSTOM_SCHEMA] to userWithAdministrativePermissions
ALTER ROLE db_datareader add member userWithAdministrativePermissions -- Select
ALTER ROLE db_datawriter add member userWithAdministrativePermissions -- Insert/Update/Delete

-- Nectari License Database
use [BILicense]
CREATE USER userWithAdministrativePermissions FOR LOGIN userWithAdministrativePermissions -- Creates DB user if a login exists at server level
ALTER ROLE db_ddladmin add member userWithAdministrativePermissions -- Manipulate objects on the Nectari warehouse DB (create, drop, ...). Can be more restrictive with REVOKE ALTER on SCHEMA :: [NECTARI_CUSTOM_SCHEMA] to userWithAdministrativePermissions
ALTER ROLE db_datareader add member userWithAdministrativePermissions -- Select
ALTER ROLE db_datawriter add member userWithAdministrativePermissions -- Insert/Update/Delete
Step 2: Create SQL users with minimum permissions
Users with minimum permissions will only have access to these components:
-
NectariCube: The Nectari Data Warehouse script creates the NectariCube user and grants that user permissions for each database.
-
ERP database: The X3 Production or replication database script provides the administrative user with access to the database schemas.
NoteSage X3 is provided as an example only. You need to change the parameters according to the ERP database you are using.
Users with minimum permissions have SELECT access to all tables. You can exclude access to specific tables by using the DENY SELECT parameter.
To create a user with minimum permissions:
-
Run the MinimumPermissions_user.sql script. Refer to the instructions inside the script to provide the proper user names.
/* Script to create restricted users for Nectari with minimum permissions. Needs to be run from a user with administrative permissions on the server.
** Instructions:
**   - Replace "userWithMinimumPermissions" with a name of your choosing for the SQL user
**   - Choose a password for this user
**   - Replace "NECTARI_CUSTOM_SCHEMA" with the name of the custom Nectari Schema (if unsure, check the Env. & Data Sources screen)
**   - Replace "X3FOLDER" with the name of the X3 folder used by Nectari (if unsure, check the Env. & Data Sources screen)
**   - Uncomment the optional statements as needed
**   - If desired, add as many DENY statements at the end to specifically deny access to individual tables
**   - In the last section, add as many deny statements as necessary
*/

CREATE LOGIN userWithMinimumPermissions WITH PASSWORD = '' -- Creates SERVER user, part of default group public with minimum authorizations

-- Nectari Data Warehouse
use [NectariCube]
CREATE USER userWithMinimumPermissions FOR LOGIN userWithMinimumPermissions -- Creates DB user if a login exists at server level
ALTER ROLE db_datareader add member userWithMinimumPermissions -- Select
ALTER ROLE db_datawriter add member userWithMinimumPermissions -- Insert/Update/Delete
GRANT EXEC to userWithMinimumPermissions -- Execute stored procs of the DB
-- ALTER ROLE db_ddladmin add member userWithMinimumPermissions -- Optional: Manipulate objects on the Nectari warehouse DB (create, drop, ...). Can be more restrictive with REVOKE ALTER on SCHEMA :: [NECTARI_CUSTOM_SCHEMA] to userWithMinimumPermissions - useful only when users are given the permission to create tables through stored procs

-- X3 Production or replication database
use [x3]
CREATE USER userWithMinimumPermissions FOR LOGIN userWithMinimumPermissions -- Creates DB user if a login exists at server level
GRANT SELECT,INSERT,UPDATE,DELETE,EXEC on SCHEMA :: NECTARI_CUSTOM_SCHEMA to userWithMinimumPermissions -- Grant full rights on custom Nectari Schema objects
GRANT SELECT on SCHEMA :: X3FOLDER to userWithMinimumPermissions -- Gives read access to all tables of the X3 folder
-- GRANT ALTER on SCHEMA :: NECTARI_CUSTOM_SCHEMA to userWithMinimumPermissions -- Optional: Gives full rights to alter custom Nectari schema objects - useful only when users are given the permission to create tables through stored procs
-- ADD HERE a deny statement for each sensitive table we want to prevent the users from accessing
DENY SELECT on X3FOLDER.TABLENAME to userWithMinimumPermissions
Step 3: Add the SQL users in Nectari
After creating the users, you need to add them in Nectari.
To configure the Nectari data warehouse and ERP database users:
-
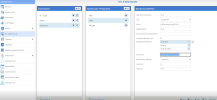
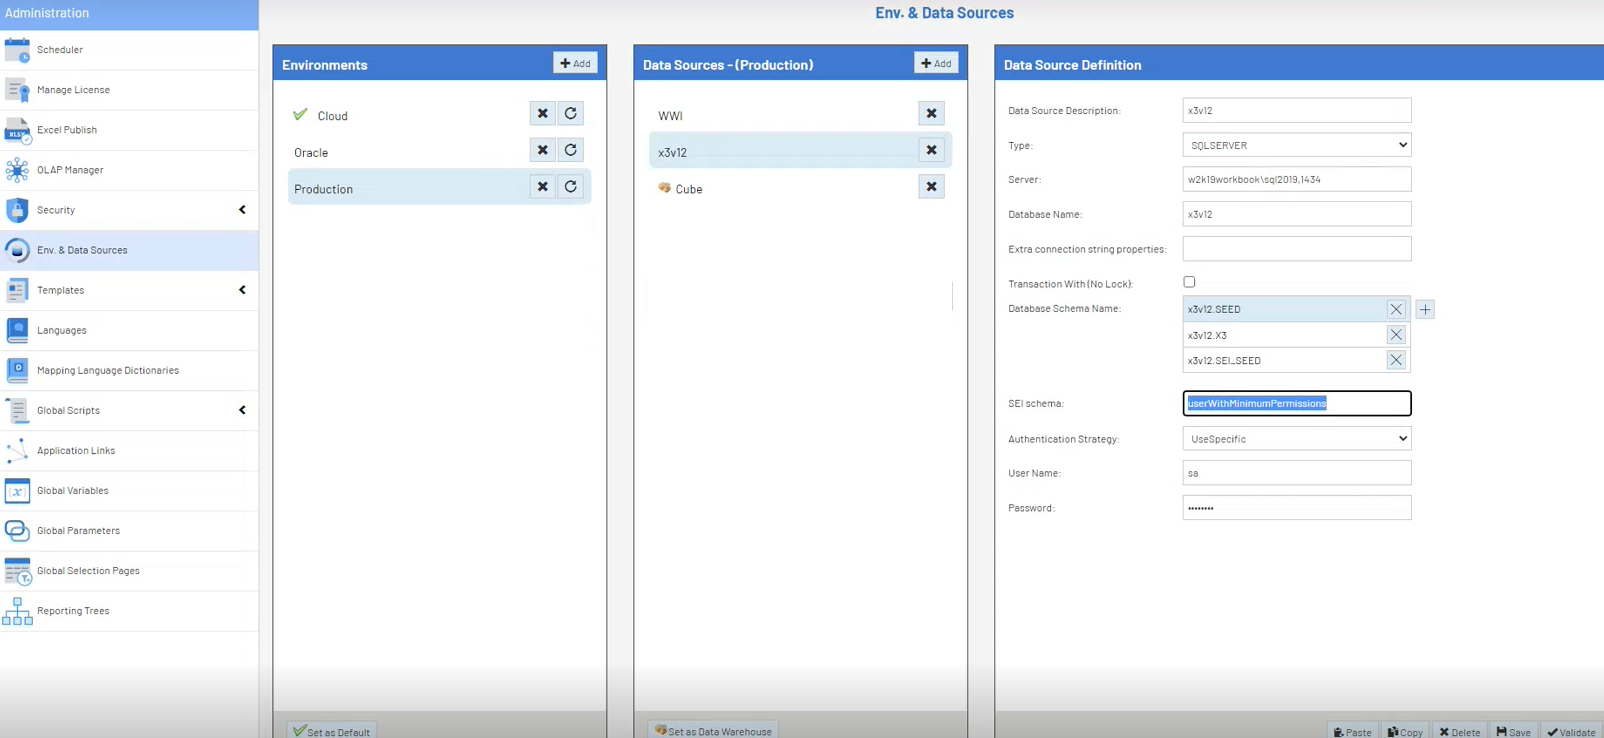
In the Administration section
 , click
  Env. & Data Sources in the left pane.
 -
Create two environments as described in Environments and Data Sources: Production and Administration.
-
The data sources will be the Cube and your ERP (X3 in our example) in each environment.
-
For the Administration environment, enter the administrative user credentials for the Nectari schema.
-
For the Production environment, enter the credentials of the administrative user and the user with minimum permissions for the Nectari schema.
-
-
Save each environment.
To configure the Nectari configuration database and BI License database users:
-
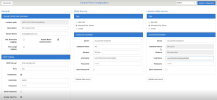
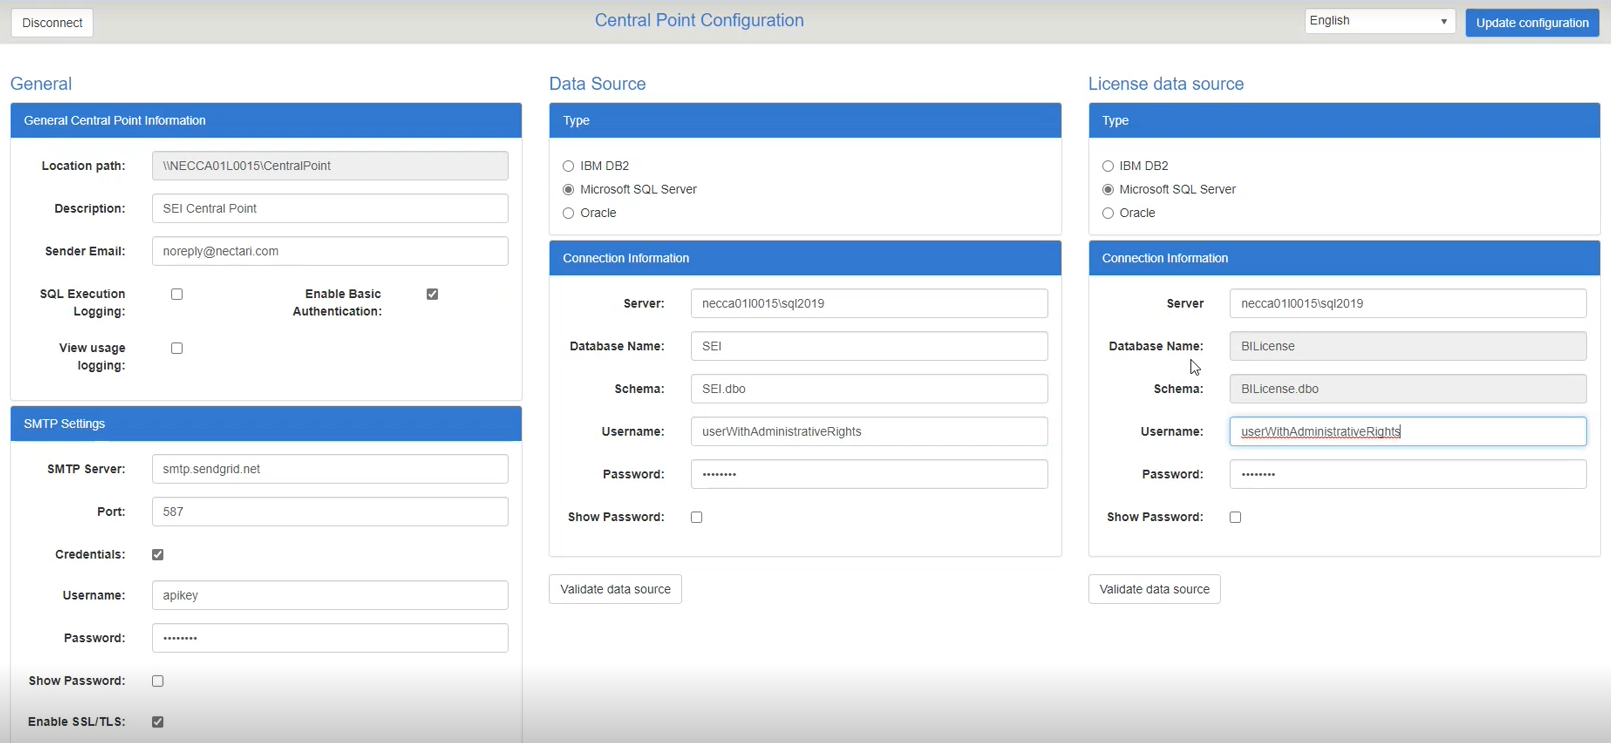
Connect to your Central Point Configurator.
-
In the Data Source and License Data Source sections, fill in the Username and Password fields with the administrative user credentials.
-
Click Update Configuration.
Additional Scenarios
Granting access to a new database schema
In cases where a database schema is added, you must grant the user with minimum permissions access to the new schema.
-
Run the GRANT SELECT on SCHEMA command under the X3 Production or Replication database script for each new schema.
ExampleWe have a new database schema called TEST and we grant access to user produser1.
GRANT SELECT on SCHEMA :: TEST to produser1
Denying access to a database schema
To deny access to a schema to a user with minimum permissions:
-
Run the DENY SELECT command under the X3 Production or Replication database script for each applicable table.
ExampleWe deny access to three tables for user produser1.
DENY SELECT on SEED.GACCENTRYD to produser1
DENY SELECT on SEED.GACACCOUNT to produser1
DENY SELECT on SEED.GACCDUDATE to produser1
Altering accesses
You can provide additional accesses so that users can edit custom Nectari objects, such as:
-
Modifying Nectari schema objects: Use the GRANT ALTER on SCHEMA command from the X3 production or replication database script .
ExampleWe give full rights to administrative user adminuser1 to alter custom schema objects using the Administrative_user.sql script.
GRANT ALTER on SCHEMA ::
-
Modifying table structures on the Cube: Use the ALTER ROLE command from the Nectari Data Warehouse script.
ExampleWe provide Insert, Update and Delete rights to user with minimum permissions produser1 using the MinimumPermissions_user.sql script.
ALTER ROLE db_datawriter add member produser1