Configure the Connections
Sage Intacct's data is only accessible from the Sage Intacct connector, so you must synchronize the data from Sage Intacct with the data in the Nectari data warehouse using DataSync. The Web Server and Excel Add-in will read the data from this data warehouse.
Prior to configuring the source and destinations connections in DataSync, you need the following:
-
A Sage Intacct environment
-
A Nectari data warehouse (Cloud or On Premise)
-
A valid version of DataSync (refer to Installing DataSync for more information)
-
A Sage Intacct account (optional)
-
Import Process & Delete Application in Sage Intacct
Configuring the Source Connections
You need to edit two source connections in DataSync:
-
A source connection that will be used for refreshing the data (for tables that can be loaded incrementally);
-
A source connection that will not incrementally refresh the data (for tables that cannot be loaded incrementally).
To edit the Refresh source connection:
-
In DataSync, edit the Refresh source connection.
-
In the Connection Properties panel:
-
In the URL field, paste the following address: https://api.intacct.com/ia/xml/xmlgw.phtml
-
For the User ID, Password and Company ID fields, enter the credentials you received in the email from Sage Intacct.

-
-
If you need to add Sage Intacct custom fields:
-
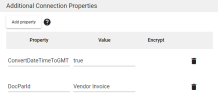
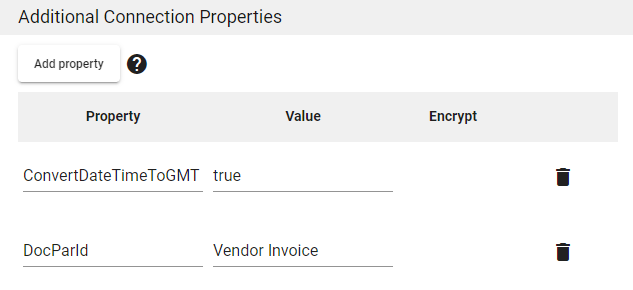
Add the DocParid property in the Additional Connection Properties panel.
-
Set the value to the document type that the custom field uses. In our example, the document type is Vendor Invoice.
-
-
Click Save.

Once the custom field is added to the source table, you can synchronize it with the destination table.

DocParId can only have a single document type per connection. If you need custom fields that use a different document type, you must create a new Sage Intacct connection.
To create the No Refresh source connection:
-
In DataSync, edit the No Refresh source connection.
-
In the Connection Properties panel:
-
In the URL field, paste this address: https://api.intacct.com/ia/xml/xmlgw.phtml
-
For the User ID, Password and Company ID fields, enter the credentials you received in the email from Sage Intacct.
-
5. Click Save.
6. For a consolidation, repeat these steps for each company. You can click the Duplicate Connection icon located on the upper right-hand corner and make the necessary updates.
Configuring the Destination Connection
The destination connection for the Sage Intacct Data Warehouse will already be created for a Cloud provisioning. This connection will receive data from the Refresh and No Refresh source connections.