Installing the Central Point
The Central Point package installs the main configuration components of the Nectari application: the Nectari database and the Central Point folder path.
To install the Nectari Central Point for SQL Server and Oracle, use the Nectari Central Point For SQL Server and Oracle.exe installation package on the server in which the Central Point folder (repository) should be located.
-
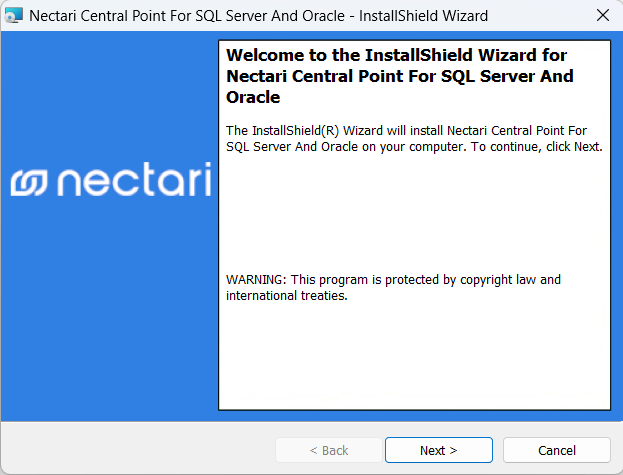
Run the application Nectari Central Point for SQL Server and Oracle.exe and click Next.
-
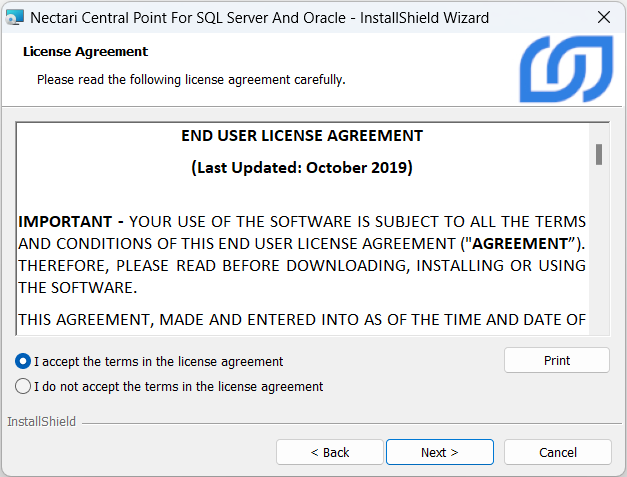
In the License Agreement screen, click I accept the terms in the license agreement and click Next.

-
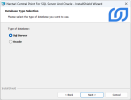
In the Database Type Selection screen, select SQL Server or Oracle and click Next.
-
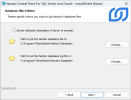
In the Database Files Folder screen, select a location for the database files.
-
Select the Server Defaults option so that the database server can load the files in its default location, OR click Change... to choose the appropriate location.
-
Click Next.
NoteYou must select Server Default if the database instance is not installed on the Windows server where you are currently running the installation package.
The Oracle installation does not require a path for the log files.
SQL Server
Oracle
 Note
NoteIf the installation fails with the error "Some files name listed could not be created", run the package again and verify:
- When the Server Defaults option is selected, it indicates that there are already BI License database files in the Server Default location that must be deleted.
- Otherwise, the user account that the database instance is running under does not have permission to write into the desired path, which means you must change its permissions or choose a different location.
-


-
In the Central Point Files Folder screen, specify where the Central Point folder will be located. You can click Change... to change the path. It is recommended to back up the folder on a regular basis. Take note of this path for your reference.
Click Next.
NoteThis folder will be created as a shared folder with read/write permissions for everyone, and the shared path will be used later in the installation (the shared path will be given to you in another step).

-
In the Central Point Configuration screen, provide the following information:
- The Description is the expression in the Central Point drop-down in the main login screen of the application.
- The Short Description is used to name a working directory on each work station, specific to the user and the Central Point.
- The Sender Email is the address where the automatic emails originate. You can change this configuration after installation by using the Web Central Point Configurator tool.
- The SMTP Server for messaging (email) is your company’s SMTP server, which is used to relay automatic emails generated by Nectari (used during the user creation and password reset as well as the automatic distribution module). You can also use authentication with the SMTP server and SSL.
Click Next.
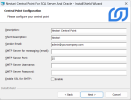
ImportantThe SMTP is required, as it will be used to send credentials to the newly created users and for password recovery and distribution.
If this information is not entered during the installation, it can be updated with the Web Central Point Configurator later.
-
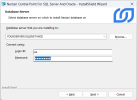
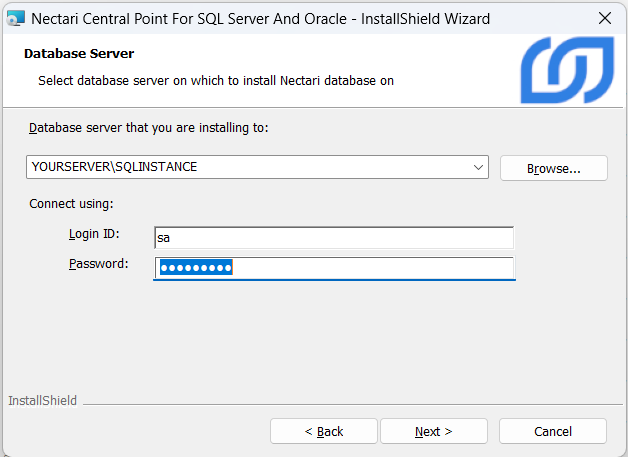
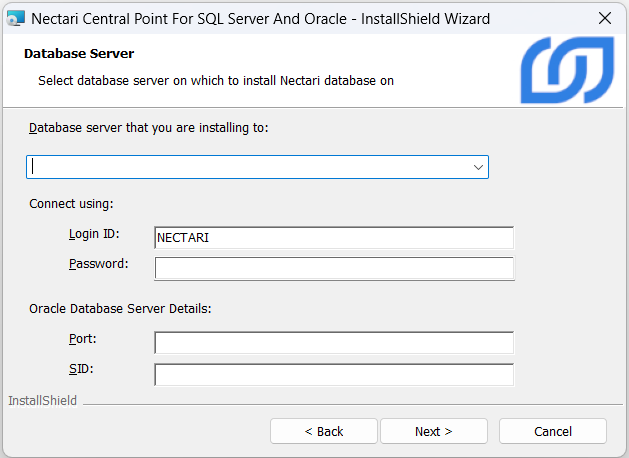
In the Database Server screen, specify where the Nectari database will be installed and provide the required credentials for logging onto this server.
Click Next.
SQL Server
For more information about the SQL Server user, refer to SQL Server Authentication).
Oracle
The Login ID field is already filled with the default user created using the Oracle script. You can change the user with another one created with that same script.

-
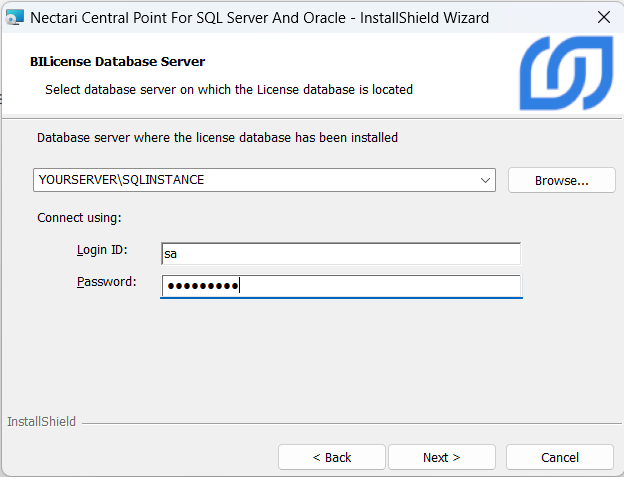
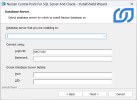
In the BILicense Database Server screen, indicate the SQL Database Server where the Nectari BILicense database has already been installed, and provide the required credentials for logging onto this server. Click Next.
SQL Server
For more information about the SQL Server user, refer to SQL Server Authentication).
Oracle
The Login ID field is already filled with the default user created using the Oracle script. You can change the user with another one created with that same script.
-
Click Install.
-
Click Finish. The installation wizard displays your Central Point path.