You can display Nectari inside Acumatica and reach the administration functions, dashboards, reports, and workbooks without leaving the ERP. Copy the Nectari URL, then display it in a dashboard.Edit the web.config file
- On the Nectari server, open
web.config in C:\Program Files\Nectari\Nectari Server\WebServer. - Replace the
<sessionState> and <httpCookies> elements with these lines:<sessionState cookieSameSite="None"/>
<httpCookies httpOnlyCookies="true" requireSSL="true" sameSite="None"/>
- Save the file, then restart Nectari if needed.
Copy the main link to embed the full menu, or the link of a view or dashboard to embed only that one.
- Log in to Nectari.
- Copy the full URL from the browser address bar.
Copy a visualization URL
- In the navigation panel, select Data Models and Views or Dashboards.
- Expand the folders and open the view or dashboard.
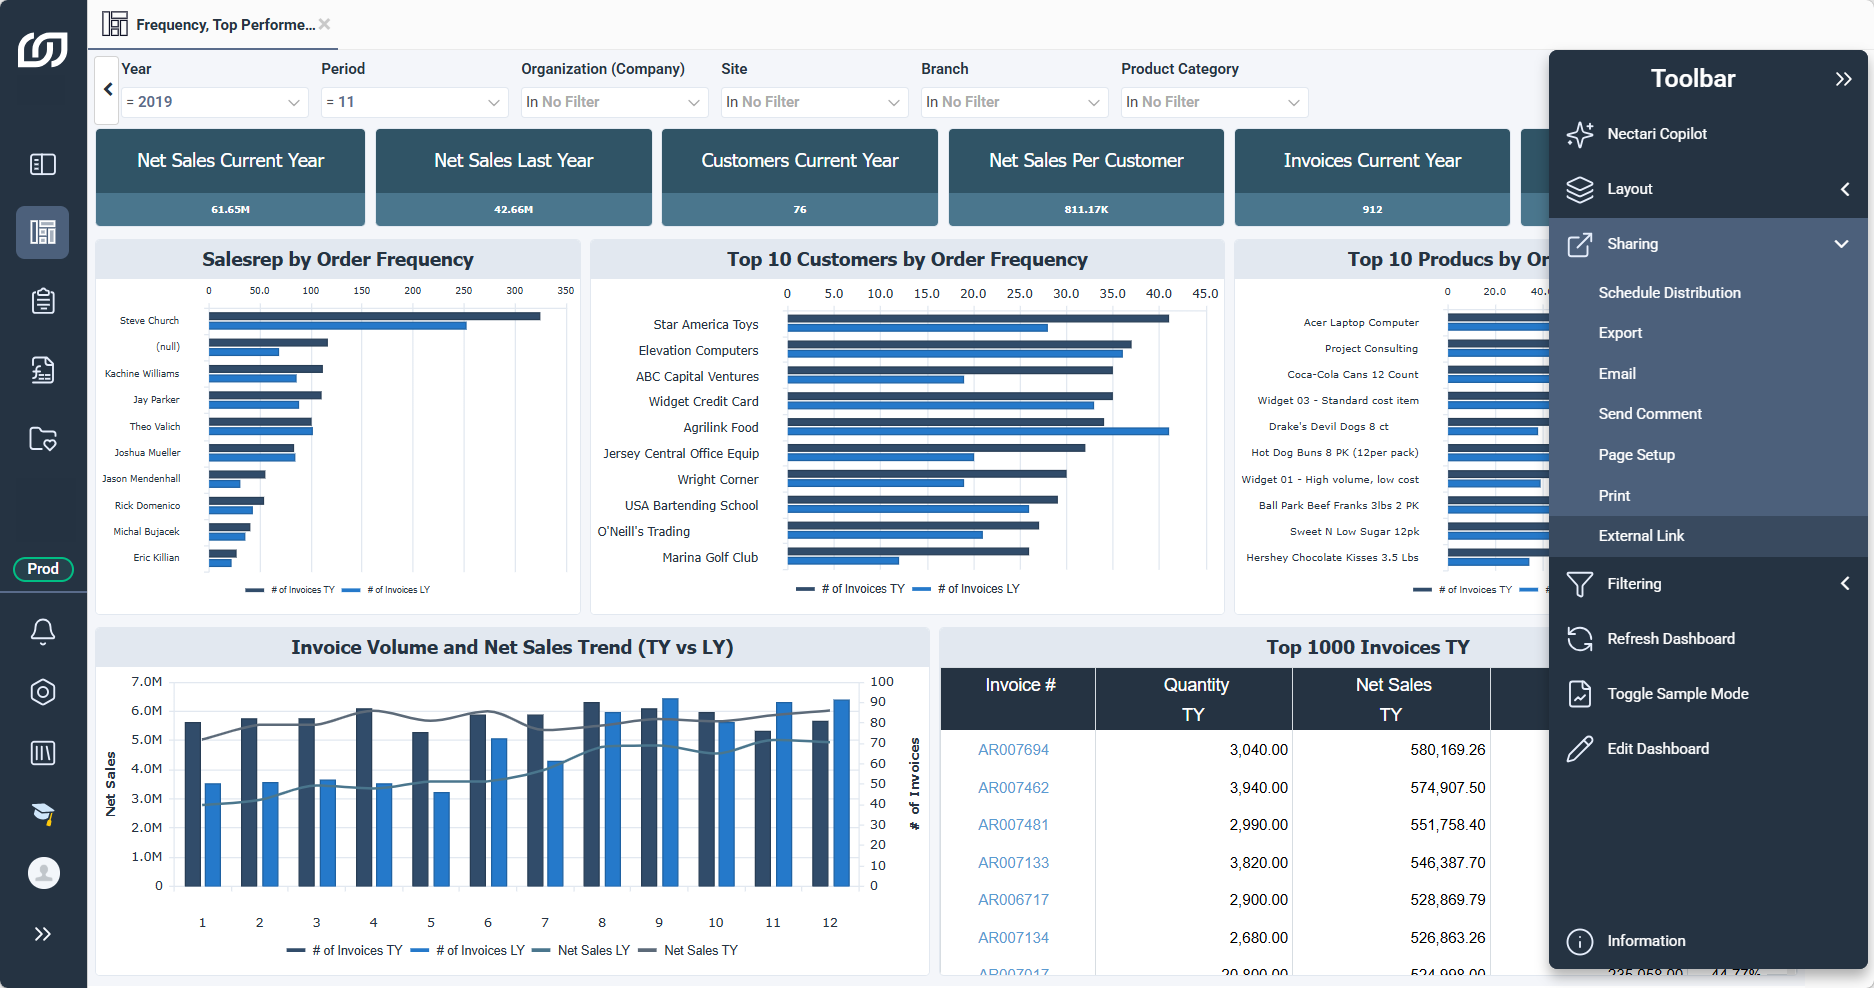
- In the toolbar on the right, expand Sharing and click External Link.
- Copy the full URL from the browser address bar.
- Log in to Acumatica.
- In the sidebar, select Customization, then click Dashboards.
- Click + and enter a name for the dashboard.
- Next to Owner Role, click the magnifying glass icon.
- Under Guest Role, select Administrator, then click Select.
- Click Save.
- Click Publish to the UI.
- Next to Workspace, click the magnifying glass icon.
- Select a workspace, such as
Finance or Inventory, then click Select. - Click Publish.
- In the sidebar, select the workspace you chose, such as Finance or Inventory.
- Select your dashboard, then click Design.
- Click Add a new widget, select Embedded Page, then click Next.
- In Source, paste the main URL or the visualization URL.
- In Caption, enter a caption, such as
Nectari Balance Sheet. - Click Finish.
- In the sidebar, click the three dots, then click Edit Menu.
- Click Add Workspace.
- In Icon, select dashboard, then in Area, select where to add the workspace.
- In Title, enter
Nectari, then click OK. - Click Add Menu Item, then search for your dashboard and select it.
- Click Add & Close, then Exit Menu Editing.
Pin Nectari to the sidebar
- In the sidebar, select More Items.
- Hover over the Nectari menu item, then click the pin icon.