Installation Steps
Ensure the WebDav Publishing feature (windows feature / server manager) is NOT installed on the server.
- Run the application Nectari Data Sync.exe and click on Next.Note
In this screenshot, the wizard has detected that some prerequisites required for the installation were missing and then guides the user to retrieve them to carry on.
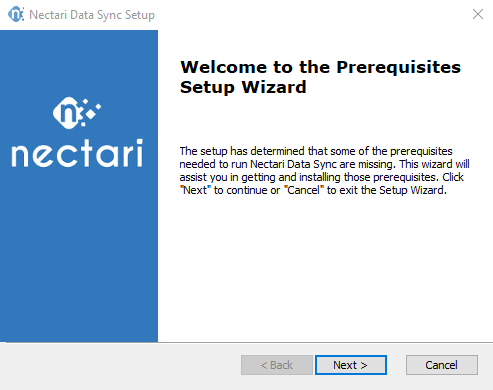
- Install the missing prerequisites then get back to the Nectari Data Sync wizard.
- Click on Next.
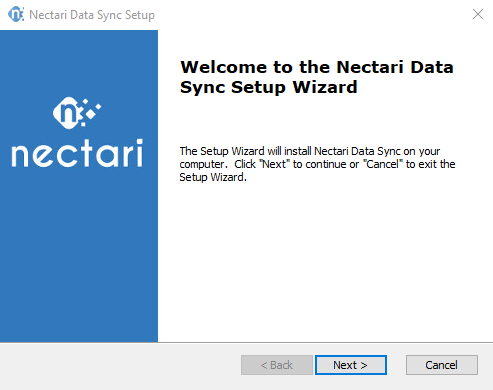
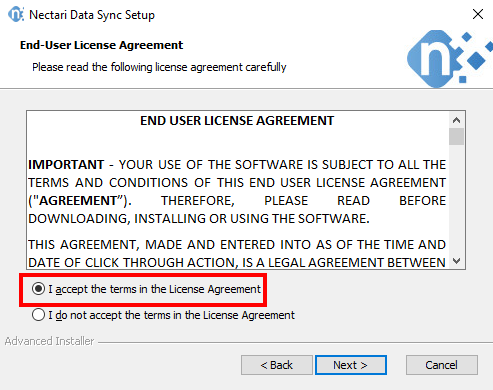
- In the License Agreement screen, click on I accept the terms in the license agreement then on Next.
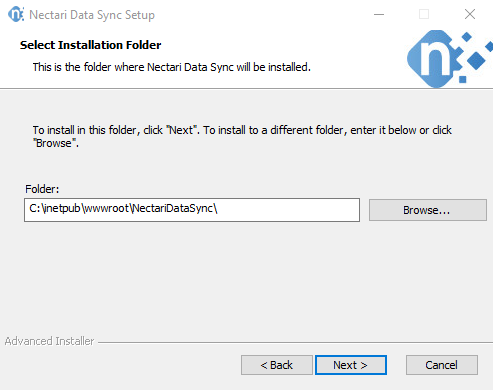
- In the Select Installation Folder screen, leave the value by default and click on Next.
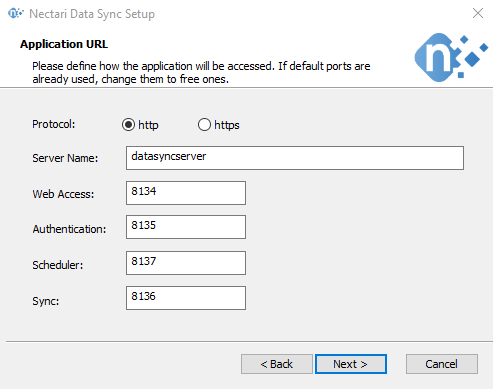
- In the Application URL screen:
- Select if you want to use a secure connection (https) or not (http).
- In the Server name field, enter the address from which users will access Data Sync.Example
For http connection, it could be datasyncserver for http://datasyncserver:8134
For https connection, it could be datasync.mycompanydomain.com for https://datasync.mycompanydomain.com:8134.
NoteAs a reminder, https connection mean your domain is binded to a certificate on which some ports were defined for a secure connection (such as the 443 port number).
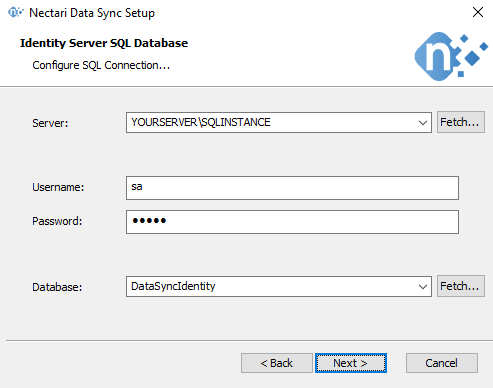
- In the Identity Server SQL Database screen:
- In the Server field, select the database instance which will host the Data Sync database.
- In the Username and Password fields, enter the Administrator credentials of the database server.
- In the Database drop-down list, select an existing database in your server or leave the default value.Note
Click on Fetch... to retrieve information from your SQL server (instances) and from your database server.
ImportantIt is highly recommended to leave the default value in order to have a dedicated database for the Data Sync application.
- Click on Next.
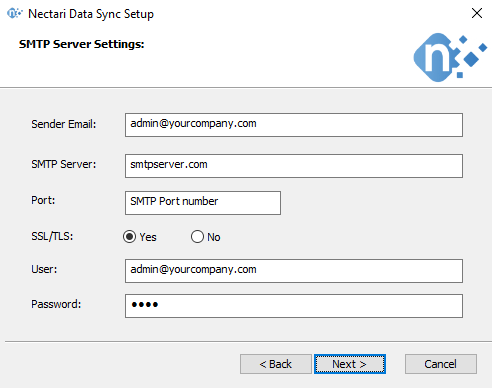
- In the SMTP Server Settings screen:
- The Sender Email will be the address from where the automatic emails originate.
- The SMTP Server is your company’s SMTP server, which will be used to relay automatic emails generated by Nectari Data Sync during the user creation and password reset as well for example.
- Tick Use TLS/SSL checkbox if you want to use or not encryption.
- In the Port field, enter the port number used for your SMTP server.
