Add a Source and Destination Connection
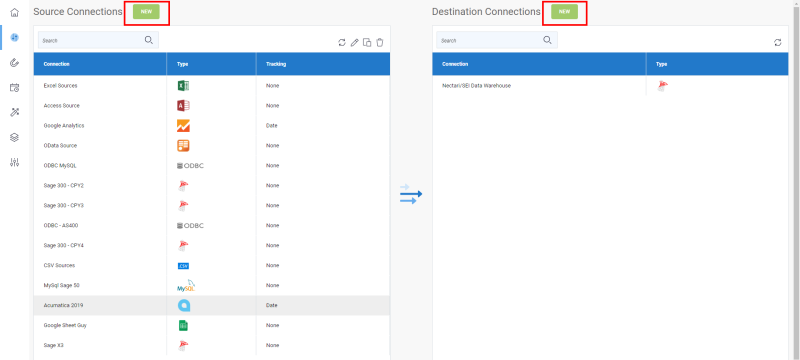
In order to extract your data, you need to add a source and a destination connection.
- Adding a source connection is specifying the data source on which your data will be retrieved through the extraction process. Once the data were taken from the source connection, they will need a location to be stored:
this is where destination connection comes handy. - Adding a destination connection is specifying the place in which your data will be integrated in order to be read once transformed.
To add either a source or destination connection:
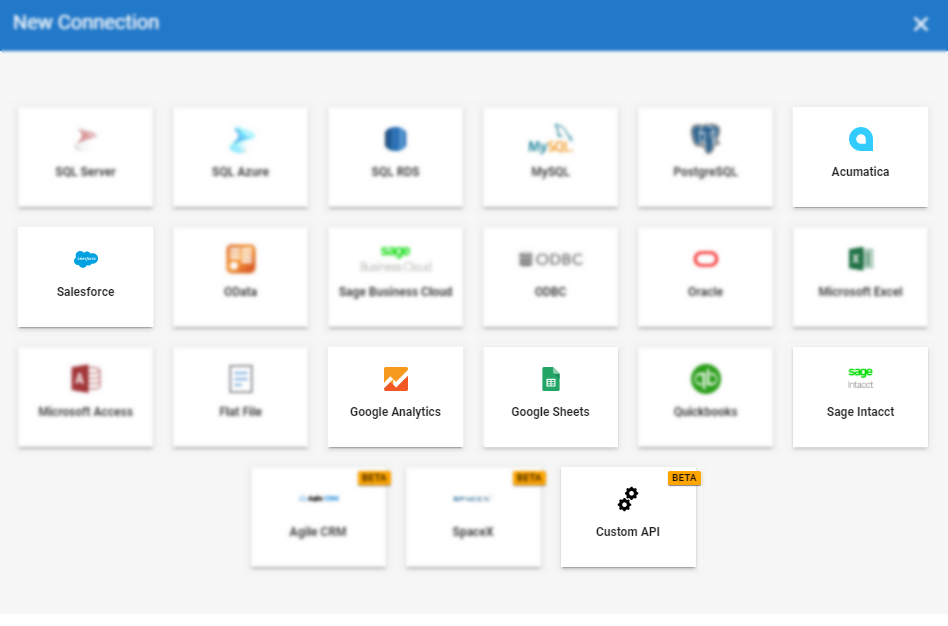
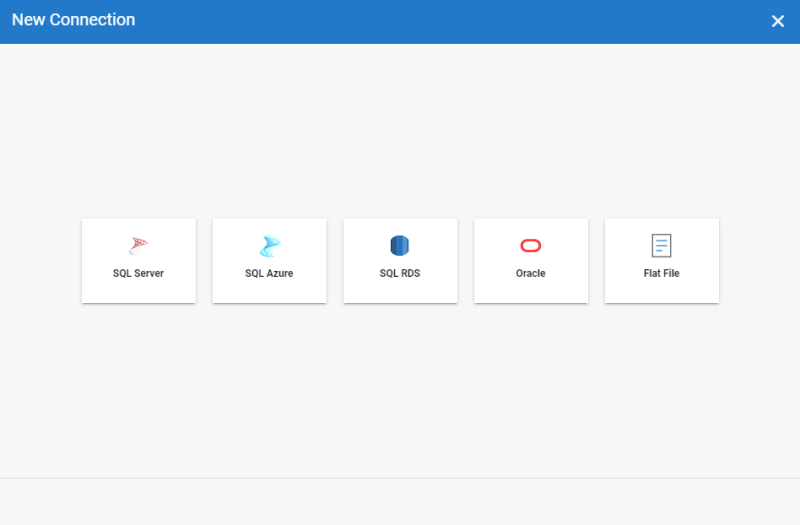
Refer to the list below for the available source and destination connections.
Click on the non-blurry connection icons to get more details related to each of them.
To complete the creation of your connection, you will need to fill out the fields of these 3 following panels: Connection Properties, Additional Connection Properties and Advanced Settings.
Connection Properties Panel
According to the connection you chose, the fields will be different from a connection to another due to their specificities.
Tooltips located next to each field are available to help you setting up some fields. Feel free to take a look to get more details if needed.
Additional Connection Properties Panel
This panel can be used to "complete" the Connection Properties panel by adding specific properties to the connection string.
- Add Property
- Click on this button if you want to specify some properties for this connection.
- For each property you add, you can define if you want it to be encrypted or not (i.e. visible). If you choose Encrypted, the value of the property (ex:password) won't be shown on screen and will be encrypted in the backend.
- Property
- Enter a connection string
 Is a sequence of characters that specifies information about a data source and the means of connecting to it. which defines the action you want to perform (ex: READ).
 - Value
- According to the property you entered, you can set the state (for example : TRUE or FALSE).
- Encrypt
- Tick this checkbox if you want to encrypt data related to the property.
- Delete
- Click on the X sign to delete the property.
Advanced Settings Panel (Available for some source connections)
- Tracking Type
- Date: the synchronization between the source and the destination will be incremental as it will be based on the latest update values of the DateTime entry of each row.
- NOTE: Sage X3 for instance used the field UPDDATTIM_0 as DateTime while in Sage 300 the DateTime is divided into 2 separate fields (AUDTDATE and AUDTTIME). For the case of Sage 300, you will have to create a calculated field first to merge these fields then to convert them into a "real" DateTime field in order to work properly.
- Time Zone (if you select Date as tracking type)
- Define the region and time zone that will be used by the source connection.
- Time Offset (if you select Date as tracking type)
- To add an offset to the source connection that will be used for Incremental Load job (Minimal value is 0 and maximum 3600 seconds).
If Data sync is not installed on the same server as your ERP application, please check that the minutes and seconds in the two servers match. Use the Time Offset feature (in seconds) if there is a difference. You can enter a number greater than the difference to ensure optimal data retrieval during an Incremental Load task.
Let's say, a client imports an excel file that has a lot of transactions (1000 rows).
While processing them with a job, during the time period between when the job has finished submitting the rows and when the system has stamped the last success date (DateTime.Now (meaning the current time)), a small time gap exists.
During that time period, let's imagine we have a few rows that would be added (Starting from 1000 and now we have 1005) and the client does a refresh (Incremental Load). Since the refresh is based on the last success date, it will skip these 5 new rows that come after the job has declared to be finished but before the timestamp done by the system.
So adding an offset to the connection can fix that problem because it removes this gap.
- Batch Size
 Reprensents the quantity of data read, transform and load in the destination at the same time.
- The batch size represents the quantity of data read, transform and load in the destination at the same time.
- To set the value, remember that the bigger the batch size is the bigger the memory usage will be and the faster it will be up to an extend. The default value is 2000 and the maximum value should not be set to more than 10 000.
- Based on your network speed and disk performance, you can experiment which size of block would be faster for you. Usually the default value (2000 records) works fine.
- Click on Save to finish.


