Excel Add-in Silent Installation with Intune
Before creating the Intune app
To access the Intune configuration console, you must log in to the Microsoft Endpoint Manager admin center. This can be done by navigating to the Endpoint Manager admin center, and signing in with an account that has been granted administrative privileges and has an assigned Intune license. Once logged in, you can access the Apps section, where you can add and manage applications, including the deployment of Nectari Excel Add-in, by configuring the appropriate settings for your organization's needs.
Preparing the Win32 Intune Package
To prepare an Intune package for a Win32 app, you need to first wrap the application's installation files into an .intunewin file using the Microsoft Win32 Content Prep Tool. This tool converts application installation files into a format that's compatible with Intune.
Start by downloading the latest version of the Microsoft Win32 Content Prep Tool. Then, place the installation files (such as .EXE or .MSI) in a folder, and run the Content Prep Tool against that folder to create the .intunewin file. During this process, specify the relevant setup commands and any required installation flags or switches. The resulting .intunewin file can then be uploaded to Intune, where you can configure further settings such as requirements, detection rules, and dependencies.
Execute the tool on your computer.

Designate the directory containing the Excel Add-In Package.
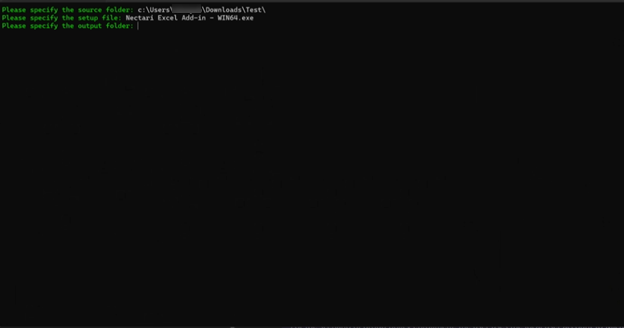
Specify the setup file, in this case Nectari Excel Add-in – X64.exe, then the output folder. (The output folder can be the same as the source folder.)
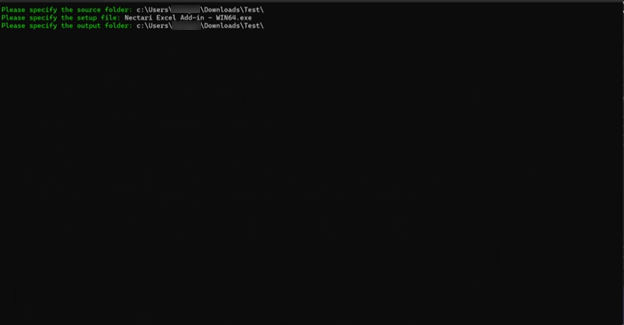
When asked “Do you want to specify catalog folder (Y/N)?” Answer with N.
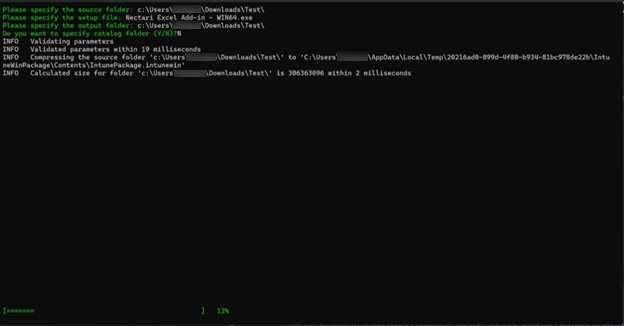
The completion of the package creation process may require an extended period. The resulting .intunewin file will be used in the next phase.
Creating a Win32 app in Intune
When deploying applications through Microsoft Intune, specifying the app type as Win32 is essential for Nectari Excel Add-in because Win32 app deployment allows for more complex software to be distributed and managed. The Win32 app type supports a broader range of setup executables, scripts, and installation behaviors, such as those required by Nectari Excel Add-in, which might need advanced installation commands and parameters.
Additionally, Win32 app deployment is designed to handle dependencies and update scenarios that are not supported by simpler app types. This ensures that Nectari Excel Add-in can be installed, maintained, and updated with the robustness expected in an enterprise environment.
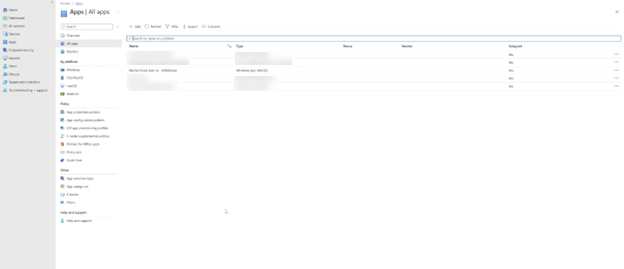
In the App Management Page, click Add. Make sure the App Type is Windows App (Win32).
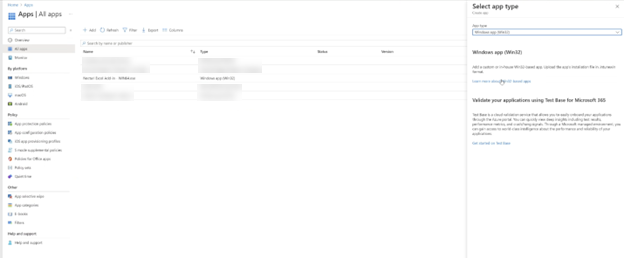
Click Select app package file and browse to the .intunewinfile created beforehand.

Click OK.

Specify the publisher as Nectari Software Inc.
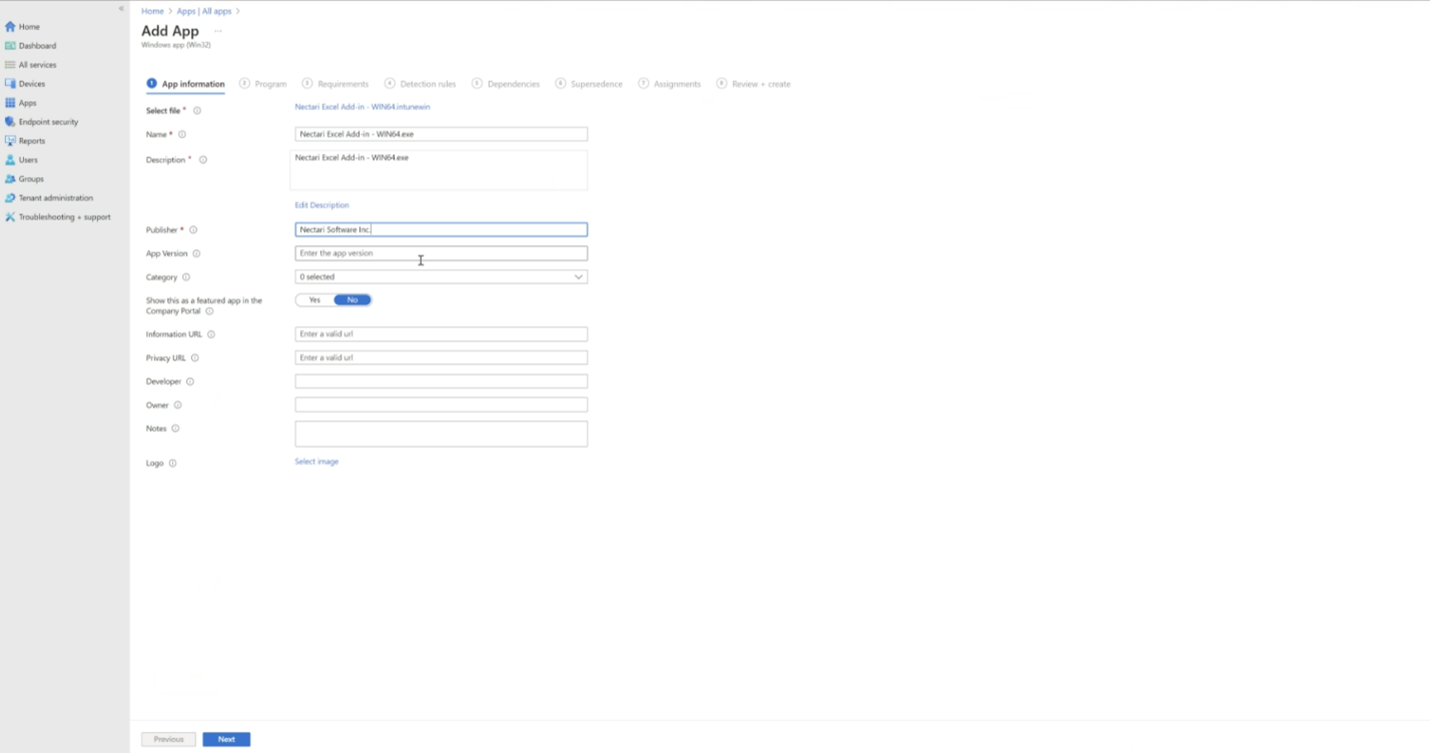
Click Next.
In the Configuration screen, you are presented with options for specifying the commands to install and uninstall an application, as well as other settings related to installation behavior.
If you have an old app that is deploying the OLD Excel Add-in package, you need to uninstall the old Excel Add-in package and then install the new one.
Here's what you would do on this screen:
-
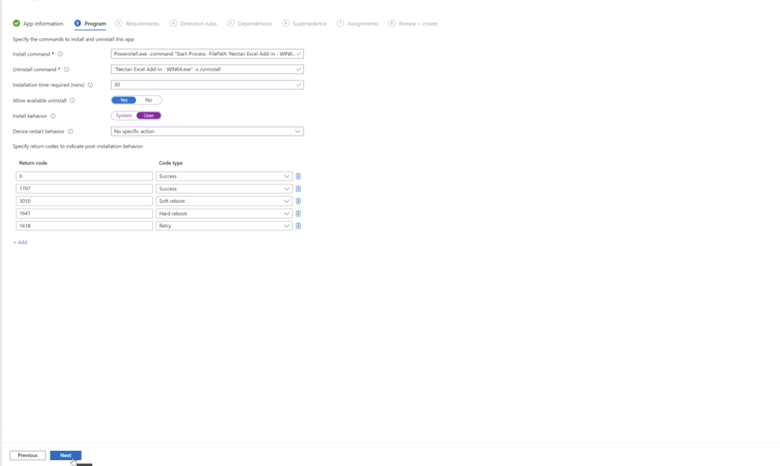
Install command: Enter the following PowerShell command that will run the installer for Nectari Excel Add-in.
Install Type Command SingleTenant Powershell.exe -command "Start-Process 'Nectari Excel Add-in.exe' -ArgumentList '-s' -Wait -Verb RunAs"
MultiTenant Powershell.exe -command "Start-Process 'Nectari Excel Add-in.exe' -ArgumentList '-s', 'ApplicationType=MultiTenant', 'WebServerUrl=https://clientAbc.nectari.com' -Wait -Verb RunAs"
-
Uninstall command: Provide the following command that can uninstall Nectari Excel Add-in when necessary.
Powershell.exe -command "Start-Process 'Nectari Excel Add-in.exe' -ArgumentList '-s', '/uninstall' -Wait -Verb RunAs"
-
Installation time required (mins): Estimate the time needed for the installation to complete. The value must be set to 30 minutes.
-
Allow available uninstall: Choose Yes.
-
Install behavior: Select System.
-
Device restart behavior: Select No specific action, indicating that the device will not restart automatically after the installation.
-
Specify return codes to indicate post-installation behavior: Enter the return codes that the installer may produce after running. The table is filled with various return codes and their corresponding types of behavior (like 'Success', 'Soft reboot', 'Hard reboot', 'Retry').
After you've reviewed and confirmed these settings, click Next to proceed to the next step in the application deployment process within Intune.
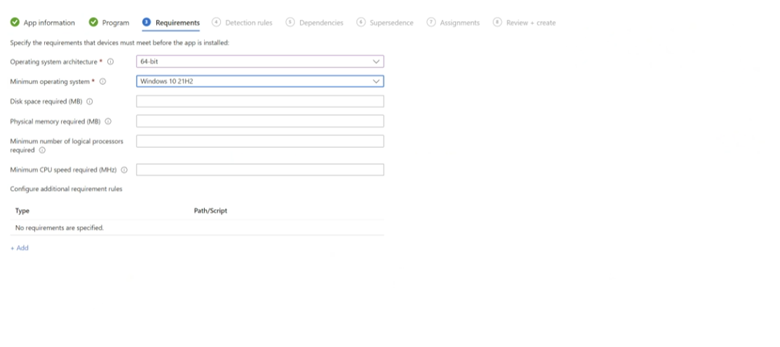
In the Requirements screen, you are tasked with defining the requirements that devices must meet before Nectari Excel Add-in can be installed.
-
Operating system architecture: Select 64-bit as the architecture of the operating systems on which the add-in can be installed.
-
Minimum operating system: Choose the minimum version of the Windows operating system required for the add-in. Set it to Windows 10 21H2.
ImportantBefore deploying to all users, conduct a local installation test on the operating system.
-
Disk space required (MB): Enter the amount of disk space needed to install the add-in.
NoteThis field can be left blank.
-
Physical memory required (MB): Specify the minimum amount of RAM needed for the add-in to run efficiently.
NoteThis field can be left blank.
-
Minimum number of logical processors required: Input the minimum number of logical processors (cores) required for the add-in.
NoteThis field can be left blank.
-
Minimum CPU speed required (MHz): Indicate the minimum CPU speed necessary for the add-in to perform optimally.
NoteThis field can be left blank.
-
Configure additional requirement rules: You do not need to add additional requirement rules.
After you have filled in the necessary fields based on Nectari Excel Add-in's system requirements, click Next to proceed to the next configuration.
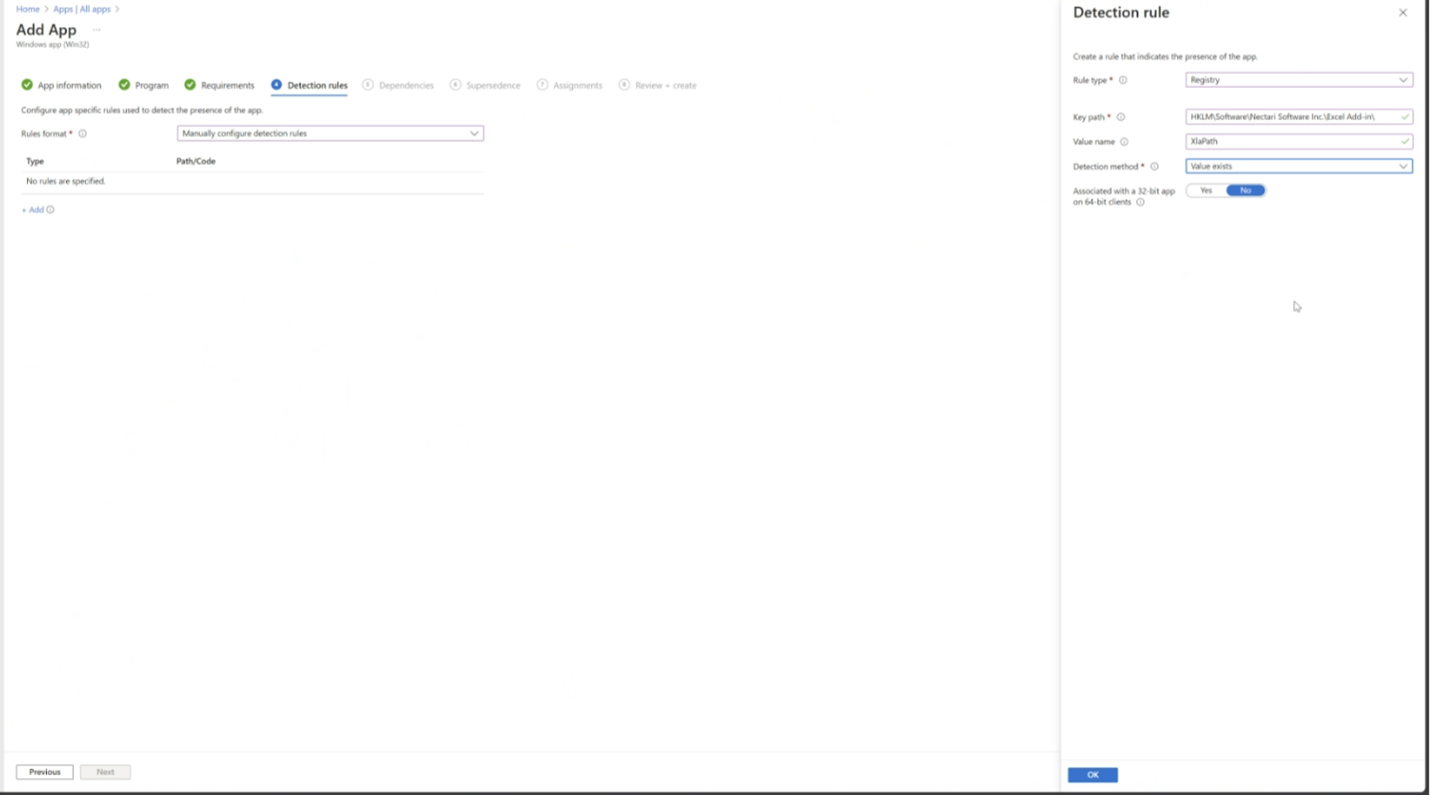
In this screen, you define the detection rules:
-
Detection rules: This area is where you specify how Intune should detect whether the app is already installed on a device. This ensures that Intune does not attempt to install an application on a device where it is already present.
-
Rule format: Choose how you would like to configure detection rules by setting it to Manually configure detection rules, which means you will provide the specific criteria Intune uses to detect the app.
-
Add: Click Add to create a new detection rule.
In the Detection rule panel:
-
Rule type: Select Registry to indicate that the presence of the app is determined by a specific registry entry.
-
Key path: Enter the path to the registry key that Intune should check to confirm the app's presence. The path is: HKLM\Software\Nectari Software Inc.\Excel Add-in
-
Value name: Specify the name of the registry value that must be present for Intune to consider the app installed. The value is: Version
-
Detection method: Choose how Intune should detect the app based on the registry value. This should be set to Version comparison.
-
Operator: This value should be set to Equals.
-
Value: This value should be set to the File Version (e.g.: 24.0.5.10123) of the Excel Add-in installer. (This can be found by right-clicking the Add-in installer and selecting Properties and then navigating to the Details tab).
-
Associated with a 32-bit app on 64-bit clients: Indicate whether this detection rule is for a 32-bit application on a 64-bit system. This should be set to No.
After configuring the detection rule, click OK to save it and then click Next to proceed with the app configuration process in Intune.
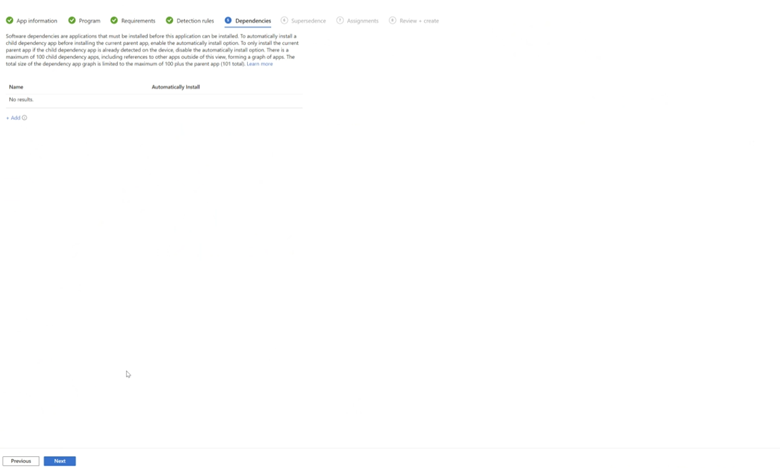
For the current deployment of Nectari Excel Add-in via Intune, there are no additional dependencies that need to be configured. The application operates independently without requiring other software components to be pre-installed on the target devices. This simplifies the installation process and ensures that the deployment can proceed smoothly without the need to manage prerequisite software or additional configuration steps.
Consequently, administrators can focus solely on the direct installation and configuration of Nectari Excel Add-in itself.
Click Next.
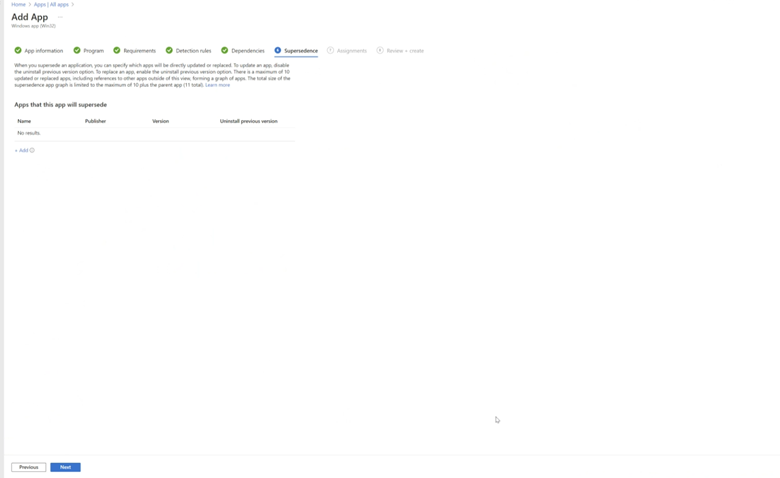
In the deployment process of Nectari Excel Add-in, the configuration of supersedence in Intune is not necessary, as the add-in package itself inherently supports the upgrade functionality. This means that the package is designed to detect and overwrite any previous versions during the installation process automatically.
As a result, the upgrade path is streamlined within the package, negating the need for Intune's supersedence feature, which typically handles the replacement of old applications with new ones. This built-in upgrade capability ensures a seamless transition to the latest version without additional administrative overhead.
Users must close all Excel Add-In instances to ensure a successful upgrade.
Click Next.
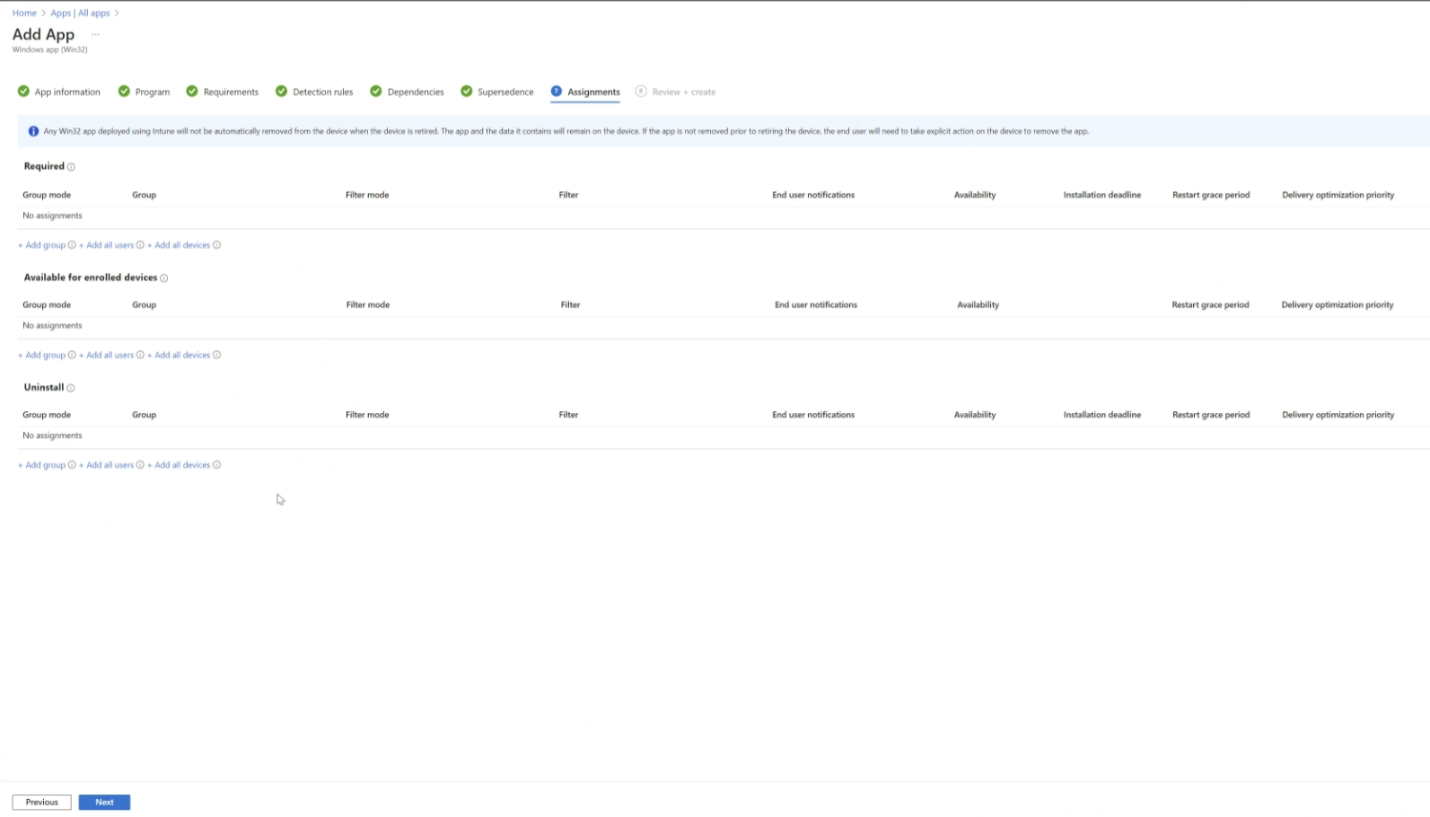
When assigning Nectari Excel Add-in within Intune, it is imperative to define the assignment criteria based on specific users or groups that are pertinent to the company's structure and operational needs. This targeted assignment ensures that only selected individuals or teams who require access to the add-in receive the installation package, aligning with the company's resource distribution policies and access controls.
By carefully curating these assignments, the company can maintain a streamlined and efficient deployment, minimizing unnecessary software distribution and adhering to the principles of least privilege. This methodical approach to assignment also facilitates easier management and tracking of the add-in's utilization across the organization.
Here is an example of a group configuration:
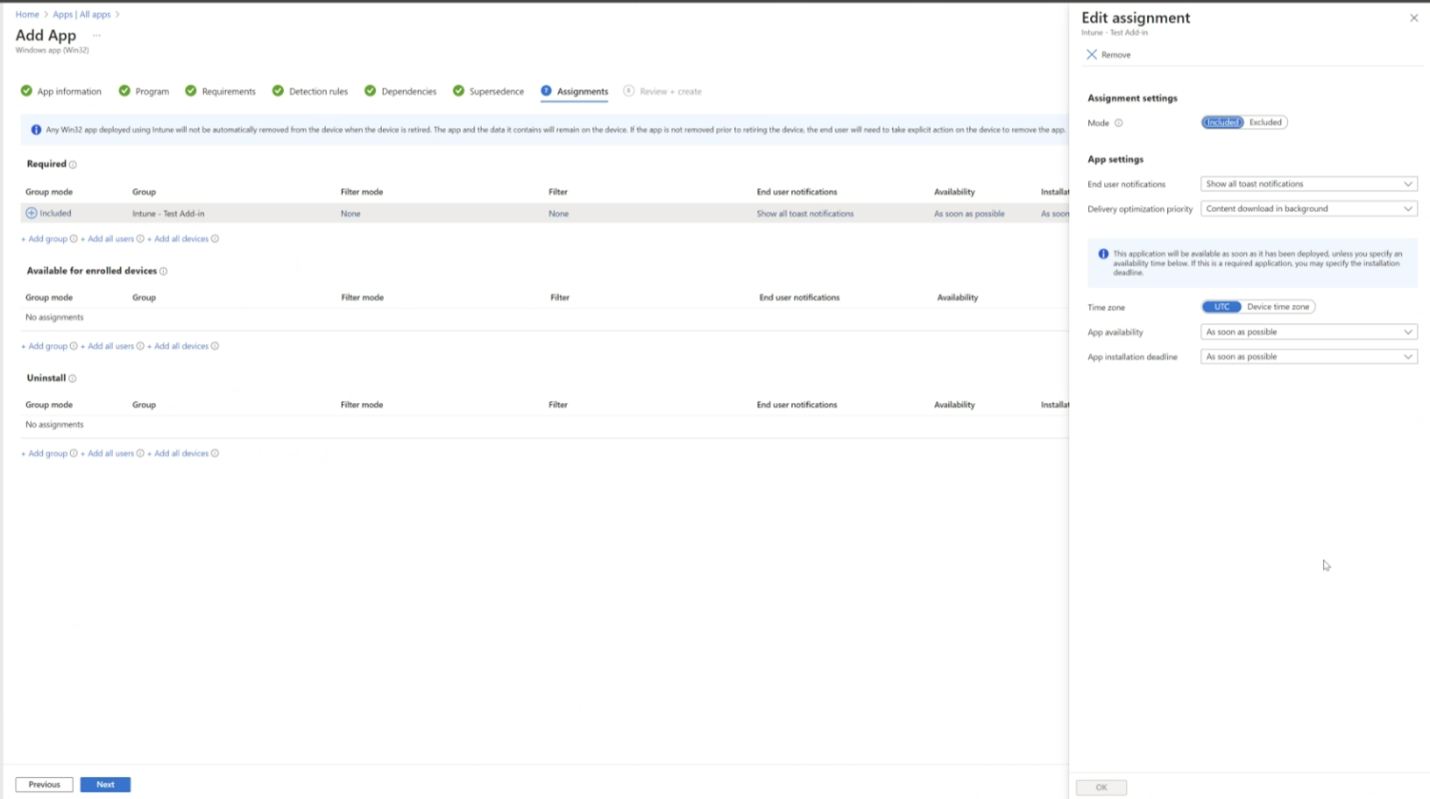
The Edit assignment panel on the right-hand side contains the following options:
-
Mode: You can select whether to include or exclude the assignment for the selected group.
-
App settings: Here you can configure user notifications and delivery optimization priorities. Set it to Show all toast notifications for install and uninstall events and set it to Convert download in background for delivery optimization.
-
App availability: This dropdown allows you to set when the app should become available to the assigned groups.
-
Application deadline: You can set a deadline by when the application must be installed on the devices of the assigned users.
Click OK.
Once done, click Next.
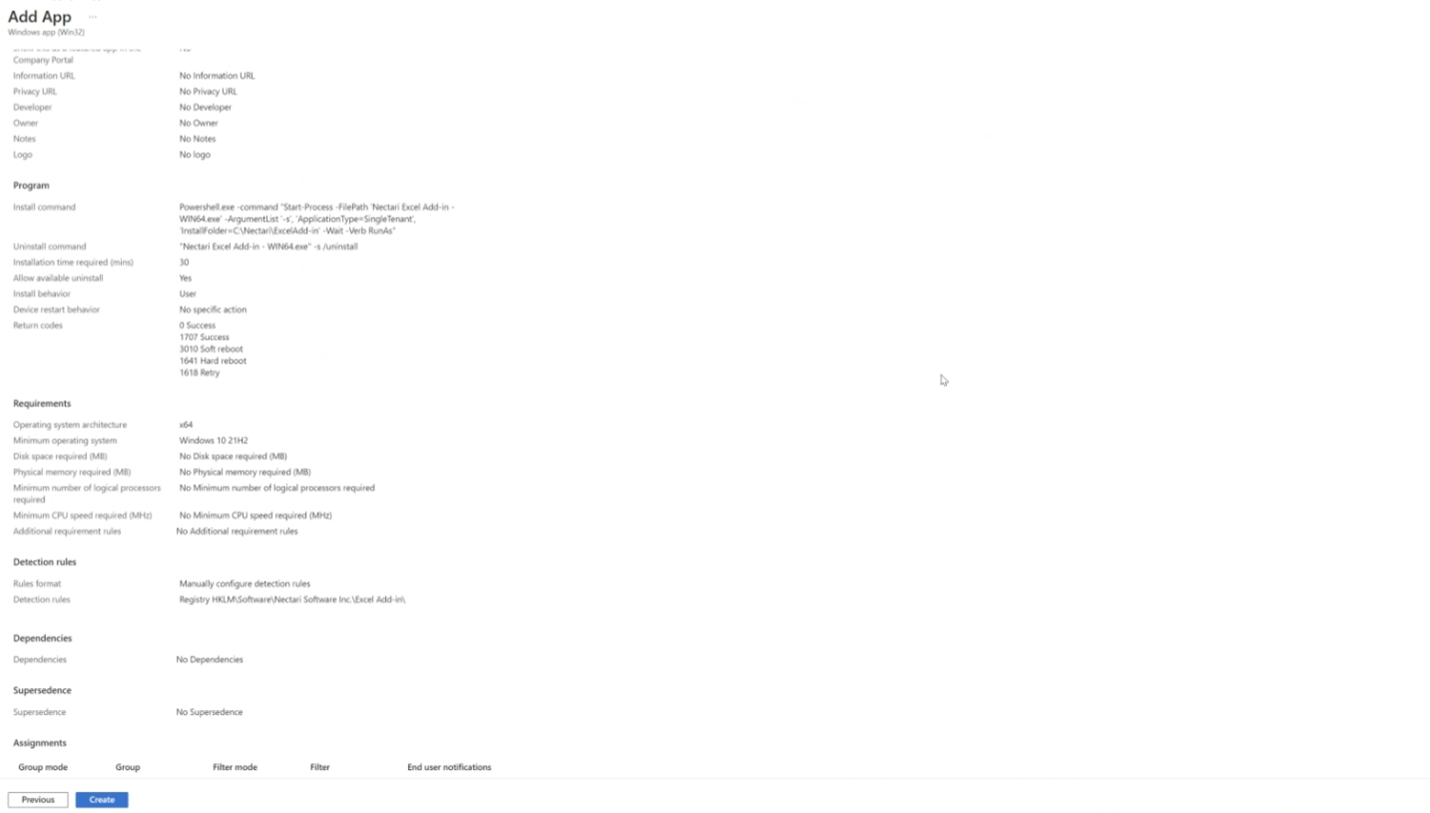
Review App creation then click Create.
Upon the creation of Nectari Excel Add-in application in Intune, it is important to set the expectation that there might be a significant delay before the application is fully installed on the employees' devices. This latency can be attributed to various factors such as network bandwidth, device availability, and the inherent processing time required by Intune to distribute the application across multiple endpoints.
Additionally, if the deployment is scheduled during a peak usage period or within a large-scale enterprise environment, these factors may further contribute to the extended timeframe. Therefore, it is advisable to plan the deployment with an allowance for this delay, ensuring that the installation process aligns with the organization's workflow and does not disrupt productivity.