Azure Single Sign-On
Single Sign-On (SSO) adds more security and convenience when signing on to Nectari using Azure Active Directory (recently renamed to Microsoft Entra ID).
This topic describes how to configure Microsoft Azure with Nectari. These settings will be used for both Web Server and Excel Add-in.
To configure the Azure Domain:
- In your Web browser, go to https://portal.azure.com/ and enter your login credentials (if required).
-
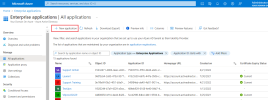
Under Azure services, click Enterprise applications.
-
In the upper bar, click + New application.
-
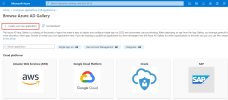
In the Browse Azure AD Gallery page, click Create your own application.
-
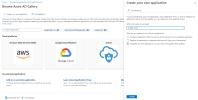
In the Name field, enter a name for your application and click Create.
-
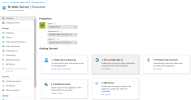
Under the Getting Started section, select 2. Set up single sign on.
-
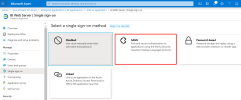
Select SAML for the single sign-on method.
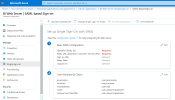
Although there are 5 sections for the SAML SSO method, you only need to set the parameters in these sections:
Basic SAML Configuration
-
In the Single sign-on page, click the pencil icon to edit the parameters in the Basic SAML Configuration section.
-
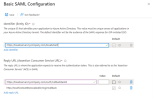
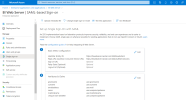
In the Identifier (Entity ID) field, copy the URL from the Entity ID parameter in the Web Server.
In this example we have biwebserver.mycompany.com as the URL address with port :444 and biwebserver as Unique Identifier for the Azure Domain.
ImportantOnly for users who never performed the https binding for external access: Take note of URL address used for the Web Server on your certificate to communicate with the Azure Domain. This is explained in further detail in Azure Single Sign-On.
-
In the Reply URL (Assertion Consumer Service URL) field, copy the URLs from the Saml2 ACS URL parameter in the Web Server for both Web Server and the Excel Addin.
-
In the Sign on URL field, enter the URL of the Web Application if you wish to log in directly to SEI (e.g. https://yourserver:81).
-
Click Save to apply changes.
-
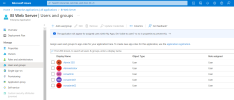
In the left menu, under the Manage section, click Users and groups.
-
In the upper bar, click + Add user/group to authorize users and groups to use SSO. This completes the basic SAML configuration.
User Attributes & Claims
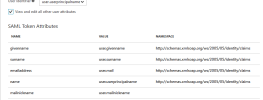
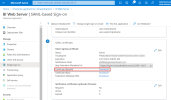
In the Azure Domain, you can take the attributes listed in the User Attributes & Claims section.
If you want to use the mailnickname attribute (because you want to choose the part of the email address before the @ sign), you will have to create it, since this attribute does not exist by default in Azure Domain.
To create the attribute:
-
In the left menu, under the Manage section, click Single Sign-On.
-
In the upper-right corner, click the pencil icon to edit the User Attributes & Claims section.
- The Manage Claim page is displayed. Click + Add new claim.
- In the Name field, enter mailnickname.
- For the Source, select Attribute.
- In the Source Attribute field, enter user.mailnickname.
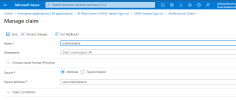
- Click Save to finish.
Here is an example where the name is mailnickname. More details on this setting can be found here.
Downloading the Certificate
To retrieve the Azure certificate:
-
Scroll to the SAML Signing Certificate section.
-
Click Download next to the Certificate (Base64) field.
-
Proceed to adding the Azure provider and create users in the Authentication page.

