Okta Single Sign-On
This topic provides step-by-step instructions on how to set up SAML 2.0 with Okta. These settings will be used for both Web Server and Excel Add-in. As Okta, does not allow multiple ACS Url in the same application. We will need to create two different applications for Web Server and Excel Add-in.
Web Server
-
Create a developer account on the Okta website at https://developer.okta.com/signup/.
-
Click Applications on the menu.
-
Click Create App Integration.
-
Select SAML 2.0.
-
In the App name field, enter SAML 2 Web Server.
-
Click Next.

-
In the Single Sign on URL field, copy the URL from the Saml2 ACS URL (Web Server) parameter in the Web Server.
-
In the Audience URI (SP Entity ID) field, copy the URL from the Entity ID parameter in the Web Server.
-
Click Next.

-
Click Finish.
-
Select the Assignments tab.
-
Click Assign.

-
Add the Nectari users who will be connecting with SSO.
-
Download the Okta Certificate.
-
Click the Sign On tab and select View Setup Instructions.

-
Take note of the Single Sign-On URL and Identity Provider Issuer (Entity ID).


Excel Add-in
-
Create a developer account on the Okta website at https://developer.okta.com/signup/.
-
Click Applications on the menu.
-
Click Create App Integration.
-
Select SAML 2.0.
-
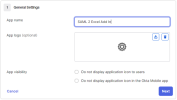
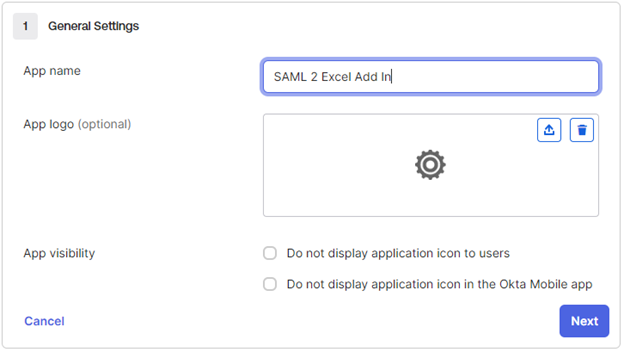
In the App name field, enter SAML 2 Excel Addin.
-
Click Next.
-
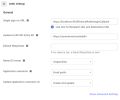
In the Single Sign on URL field, copy the URL from the Saml2 ACS URL (Excel Addin) parameter in the Web Server.
-
In the Audience URI (SP Entity ID) field, copy the URL from the Entity ID parameter in the Web Server.
-
Click Next.
-
Click Finish.
-
Select the Assignments tab.
-
Click Assign.
-
Add the Nectari users who will be connecting with SSO.
-
Download the Okta Certificate.
-
Click the Sign On tab and select View Setup Instructions.
-
Take note of the Single Sign-On URL and Identity Provider Issuer (Entity ID).

Frequently Asked Questions
This error shows up when the data received from OKTA to the Web Server/Excel Add-in doesn’t contain the user identifier that was configured within the Authentication screen. To resolve this issue, we will need to manually set the claims under the Attribute Statement section in OKTA.