Embedding Nectari into Sage Intacct
Sage Intacct users can use Nectari embedded in their ERP, which includes administration functions, dashboards, reports, and the web workbook.
Prepare the NectariURL
To embed Nectari in Sage Intacct, you first need to have the Nectari URL that will be used for the embed. This URL must be in HTTPS and can be obtained by following the steps below.
-
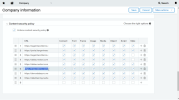
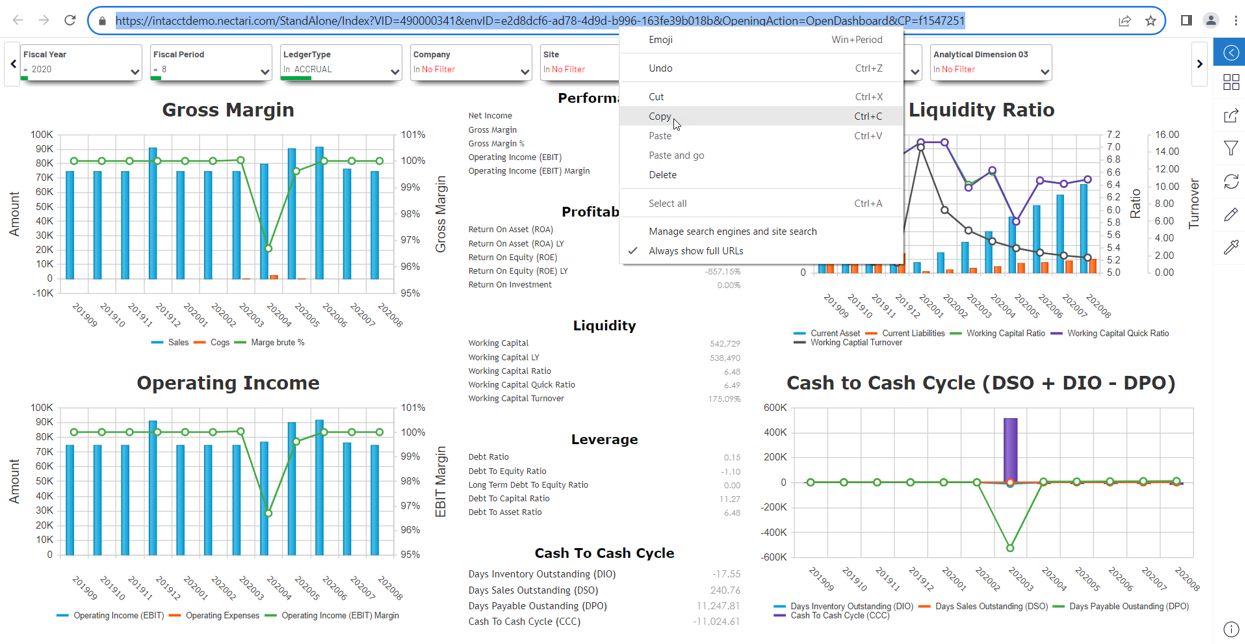
To embed the main Nectari web interface, you can copy the URL as-is from the Address bar, as shown below.
-
To embed a specific view or dashboard from Nectari, you need to open the desired view or dashboard in Nectari and select the View External Link option under Sharing in the side panel. This will open the view in a new tab from which you can copy the URL to use within Sage Intacct.
-
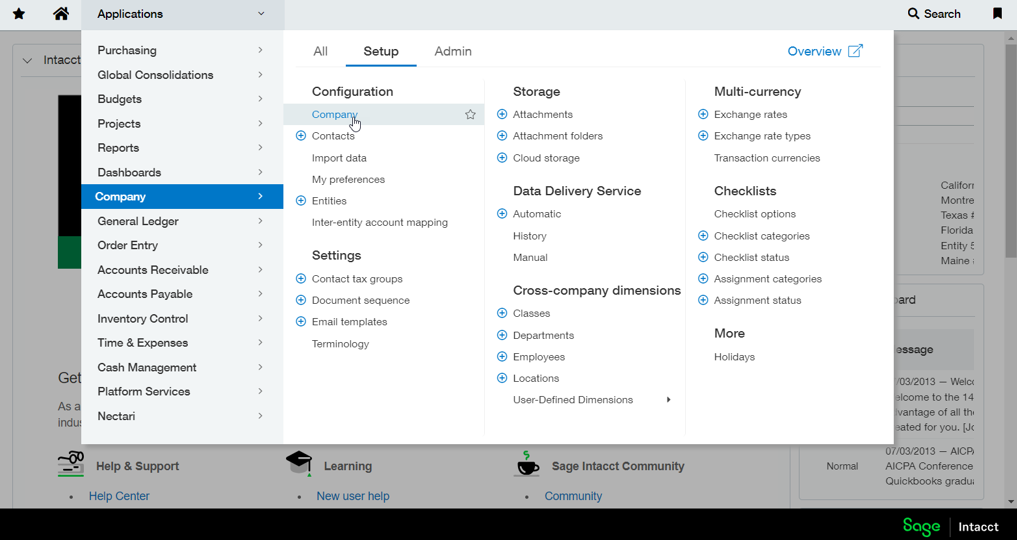
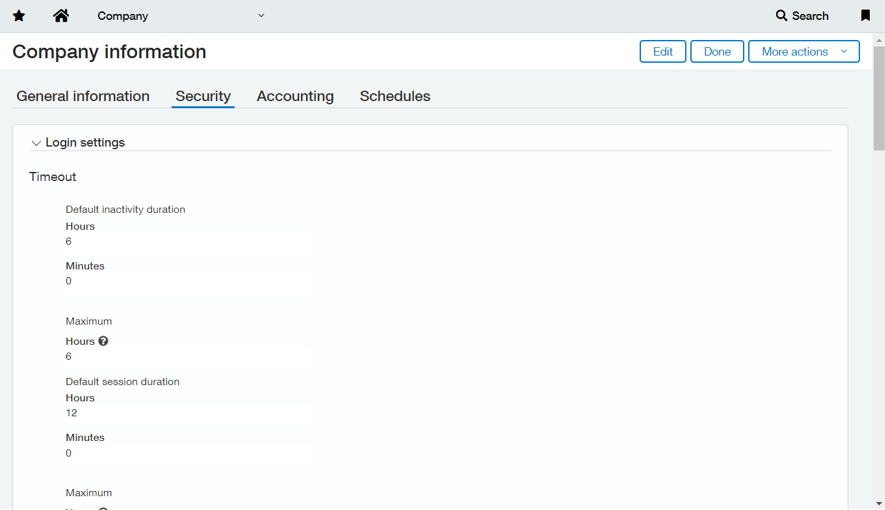
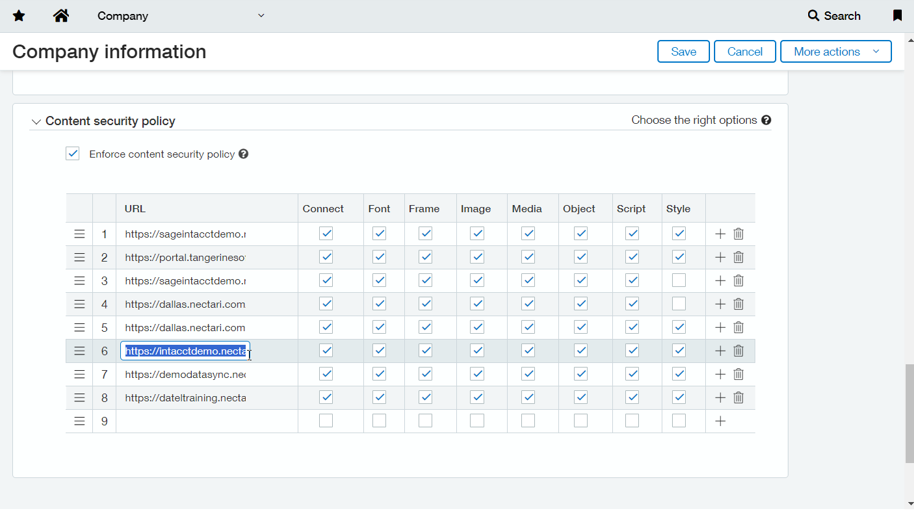
Once you obtain the Nectari URL, you need to configure the security settings within Sage Intacct. To do this, go to Applications, click on Company. In the window, select the Security tab.

-
At the bottom of the screen on the Security tab, you must enter the URL of the Nectari web interface in order to have it added as an allowed domain within Sage Intacct. Once added, click Save.


Adding the Nectari Web Application
-
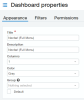
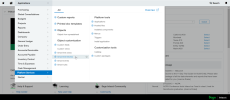
Go to Applications > Dashboards, and select the (+) Dashboard button.

-
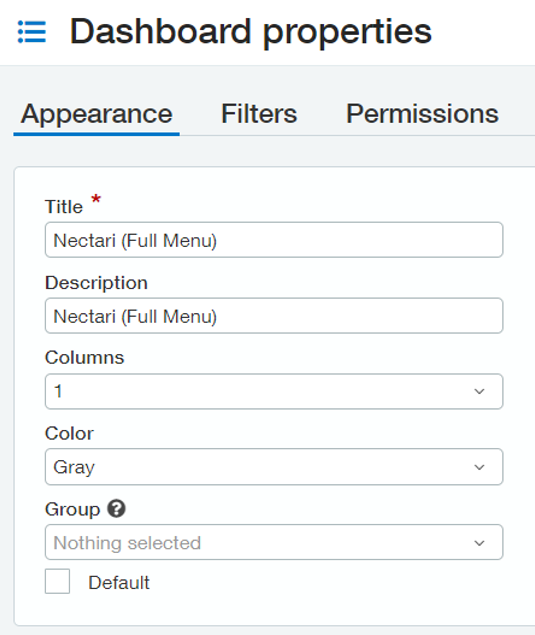
Fill in the information as follows to create a new dashboard.
-
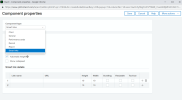
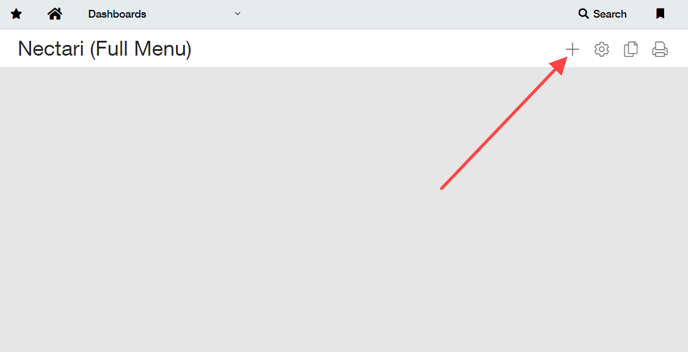
Click on the + button on the right hand side to add the Nectari smart link.

-
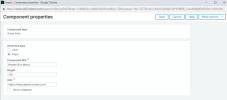
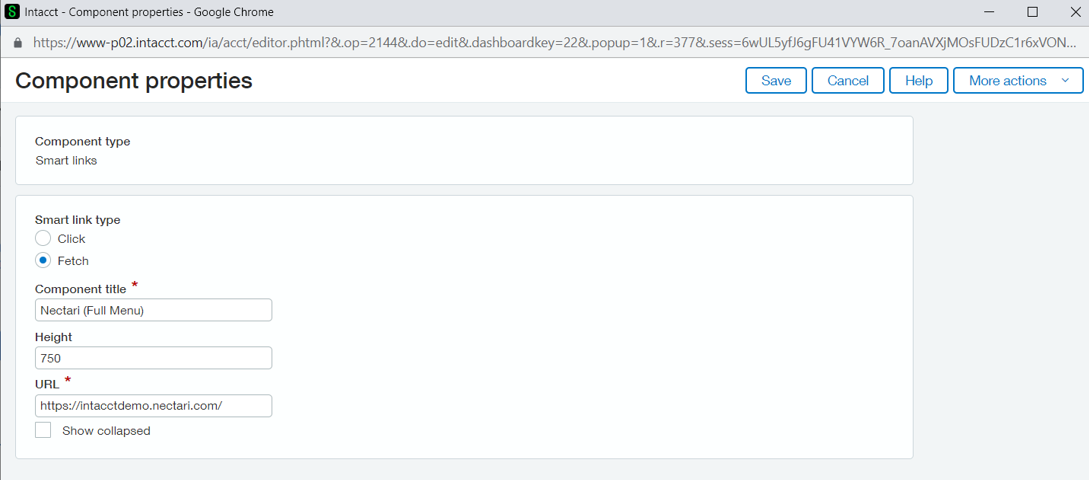
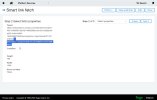
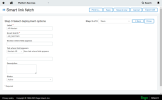
Select Smart Links from the drop-down menu. Select Fetch and fill in the fields.
For the URL, enter your own Nectari URL if you have it installed On Premise.


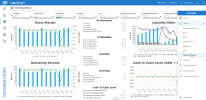
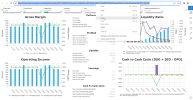
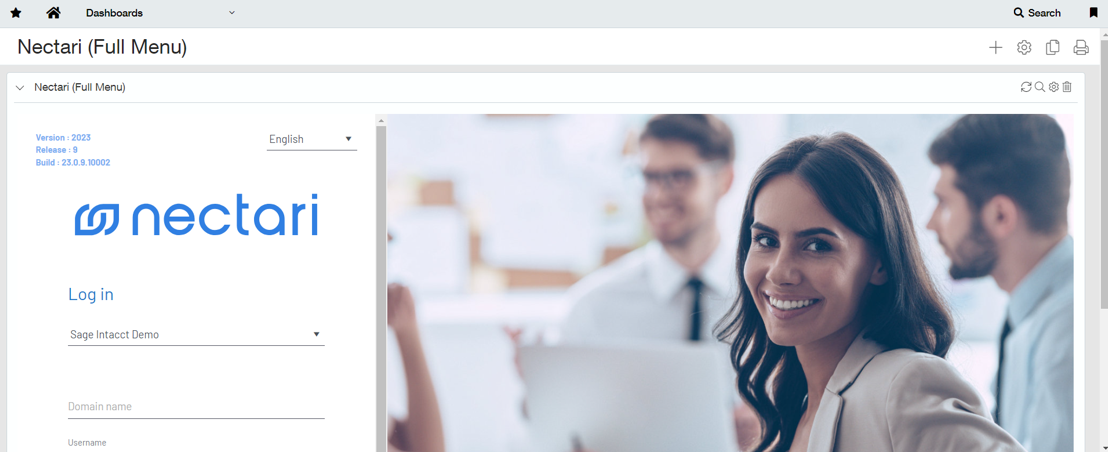
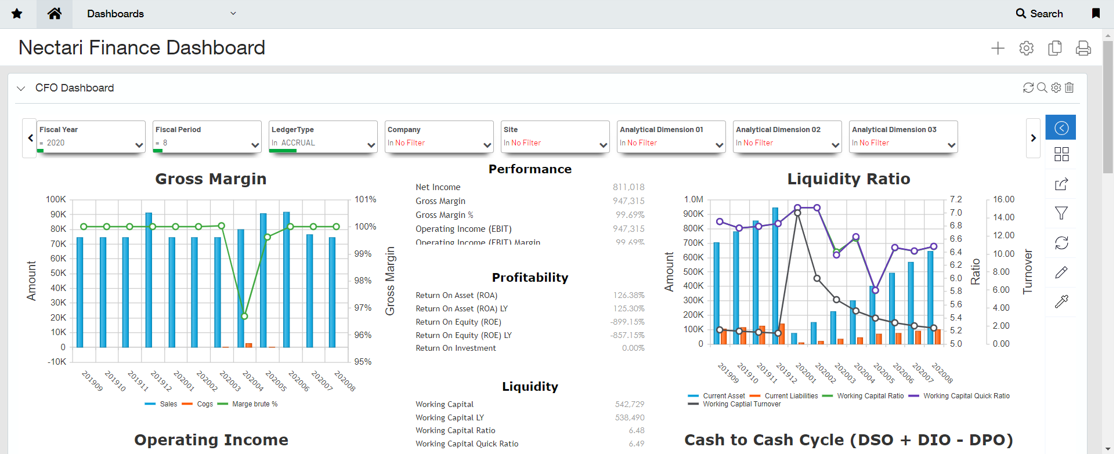
Following these steps will have configured the embed of Nectari in Sage Intacct (see images below for reference).
You can also embed specific Reports, Dashboards, and Web Workbooks by following these same steps.
Embedding Nectari within an existing Sage Intacct screen
-
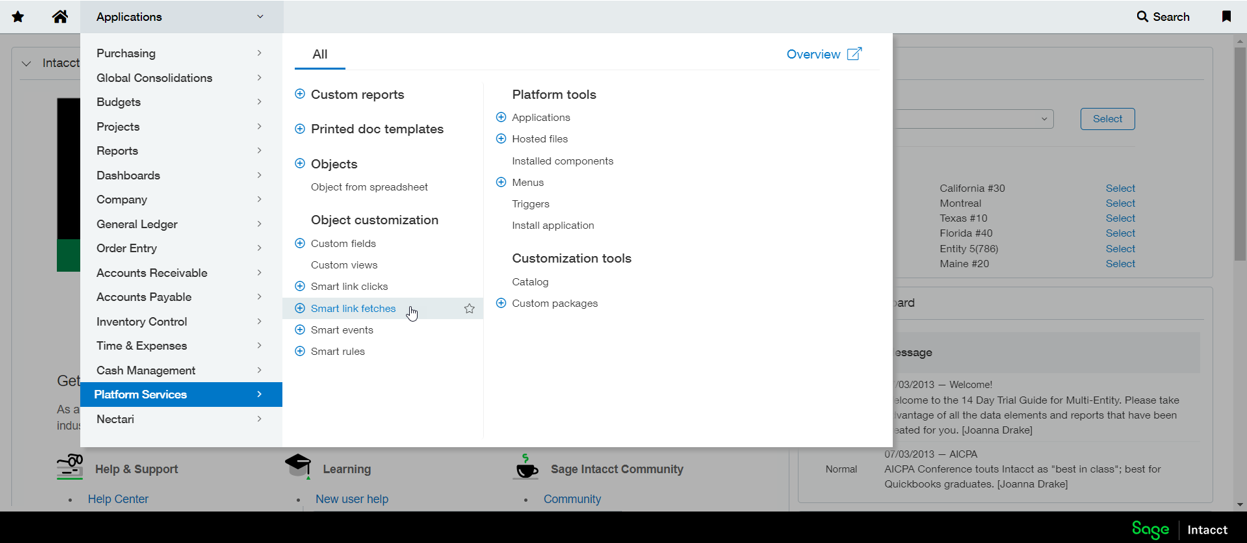
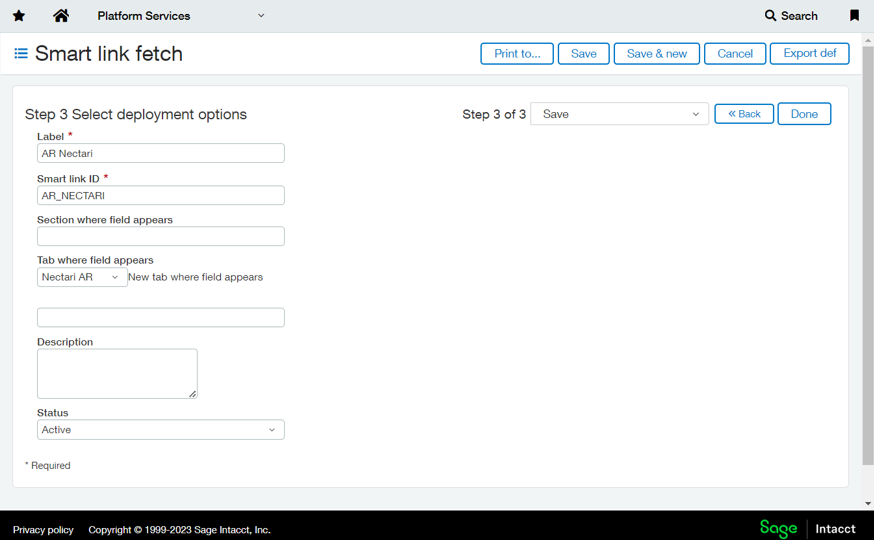
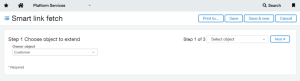
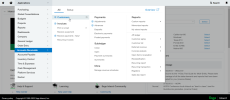
To embed Nectari within an existing Sage Intacct screen, go to Application > Platform Services and select the option Smart Link Fetches.
-
Select the object name where you would like to embed the Nectari view, and then click Next.
-
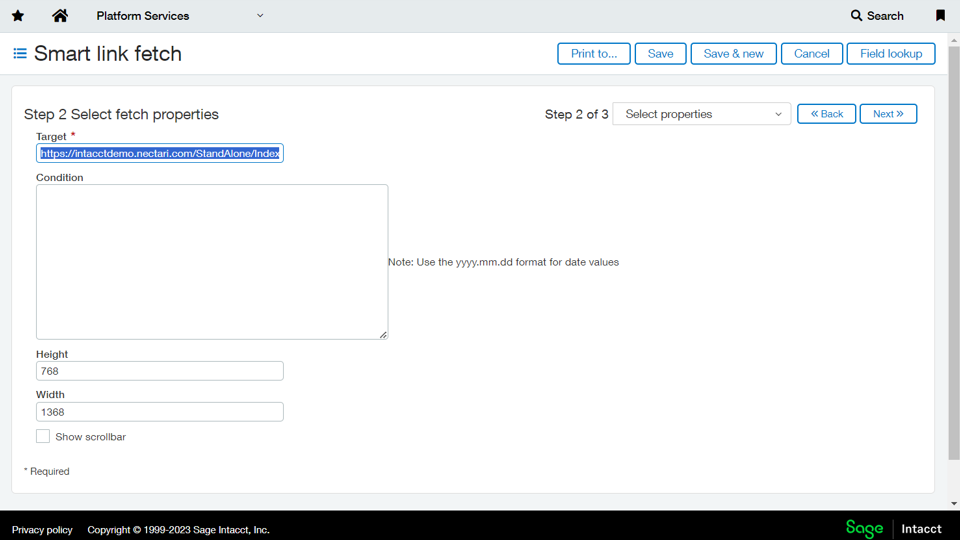
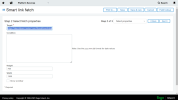
Enter the URL of the view you would like to embed (see Preparing the Nectari URL section above).
Specify the height and width of the view and click Next.
 Note
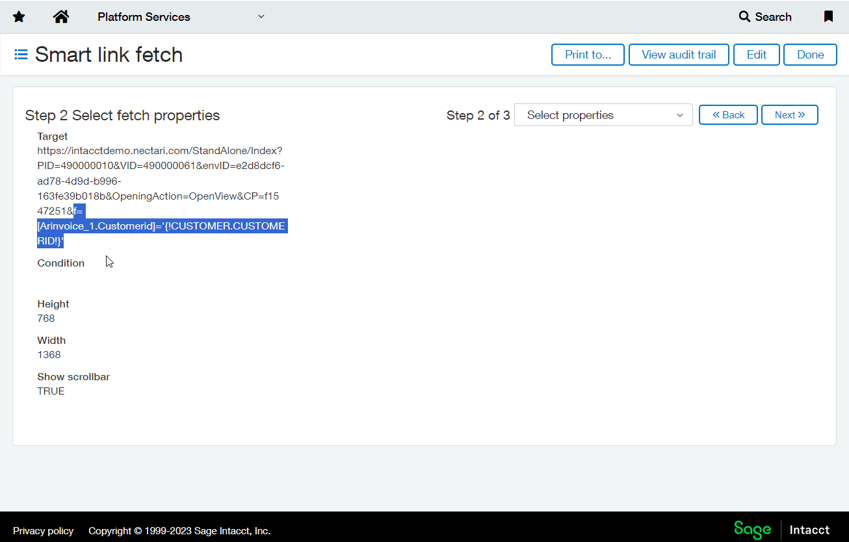
NoteIt is important to note that while embedding a specific view in Sage Intacct, you need to add the filter in order to pass the value from Nectari to Sage Intacct for it to display the right information based on the selection made within Sage Intacct. In the example below, a filter was added to pass the value from a Nectari data model and field name to the field in Sage Intacct.
Example filter: f=[Arinvoice_1.Customerid]='{!CUSTOMER.CUSTOMERID!}'
-
Enter the Label and Smart Link ID, and select the tab where the field appears, then click Done.
-
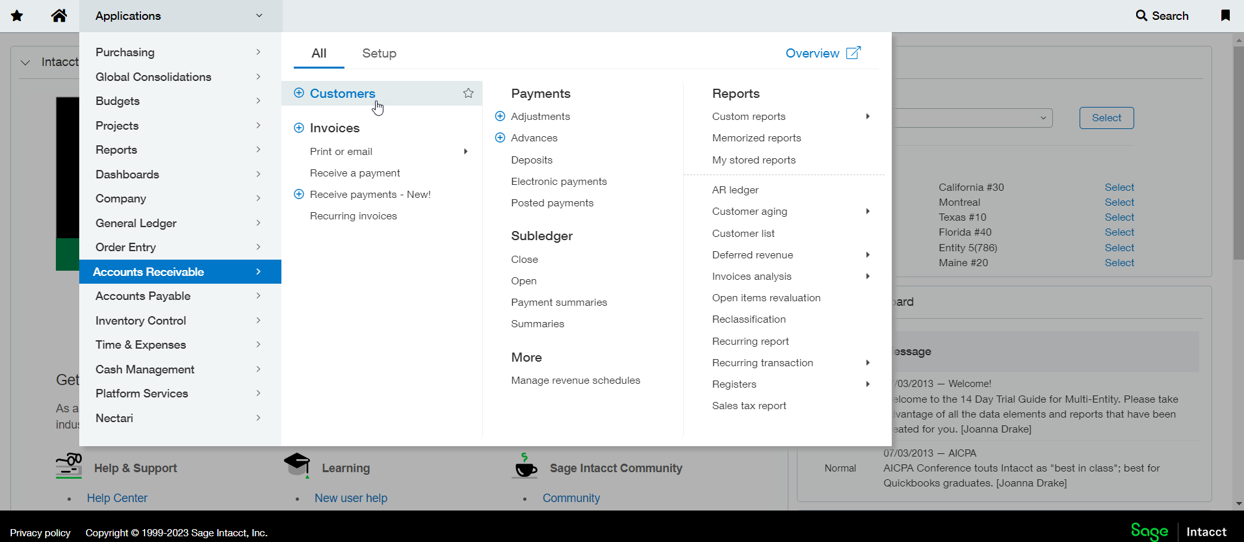
Go to Applications > Accounts Receivable, select (+) Customers.
-
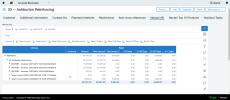
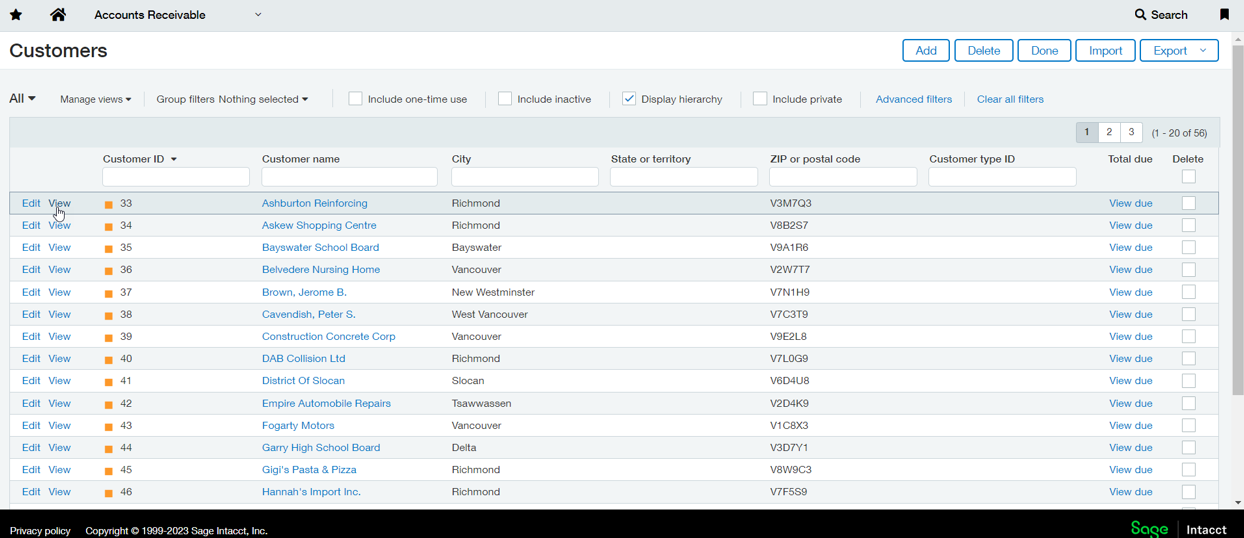
Click on View to see more information on a specific customer.

-
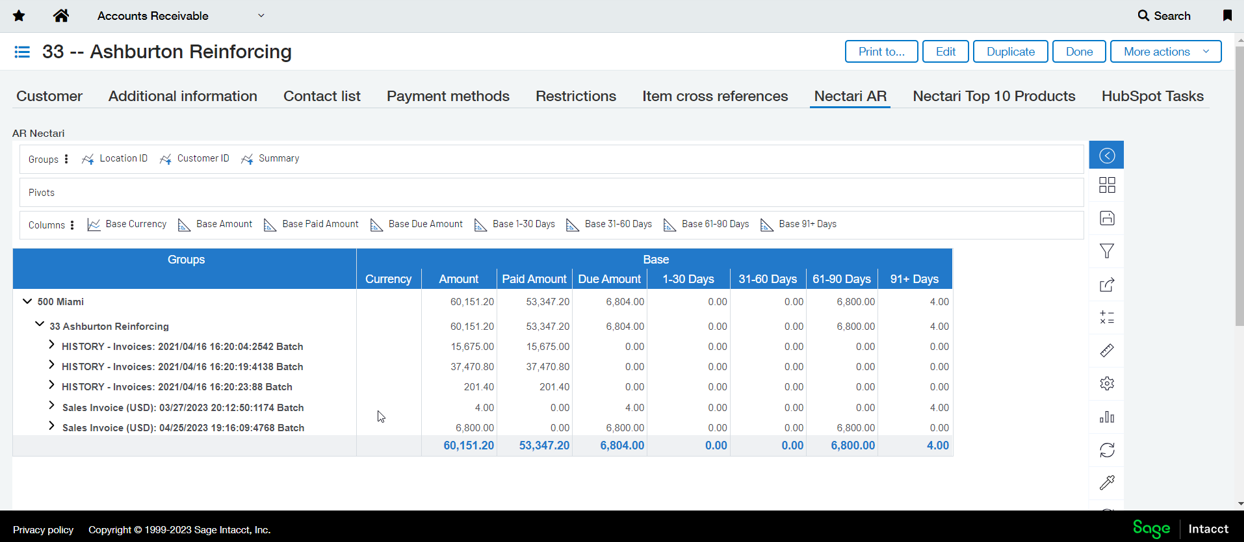
Click on the tab you created using Smart Link Fetches to view the Nectari report embedded within.