Customizing a template
After a data migration, you may add custom fields to the FINAL, HIST and STG tables.
To add fields:
-
In the web interface, run the Info Page:
-
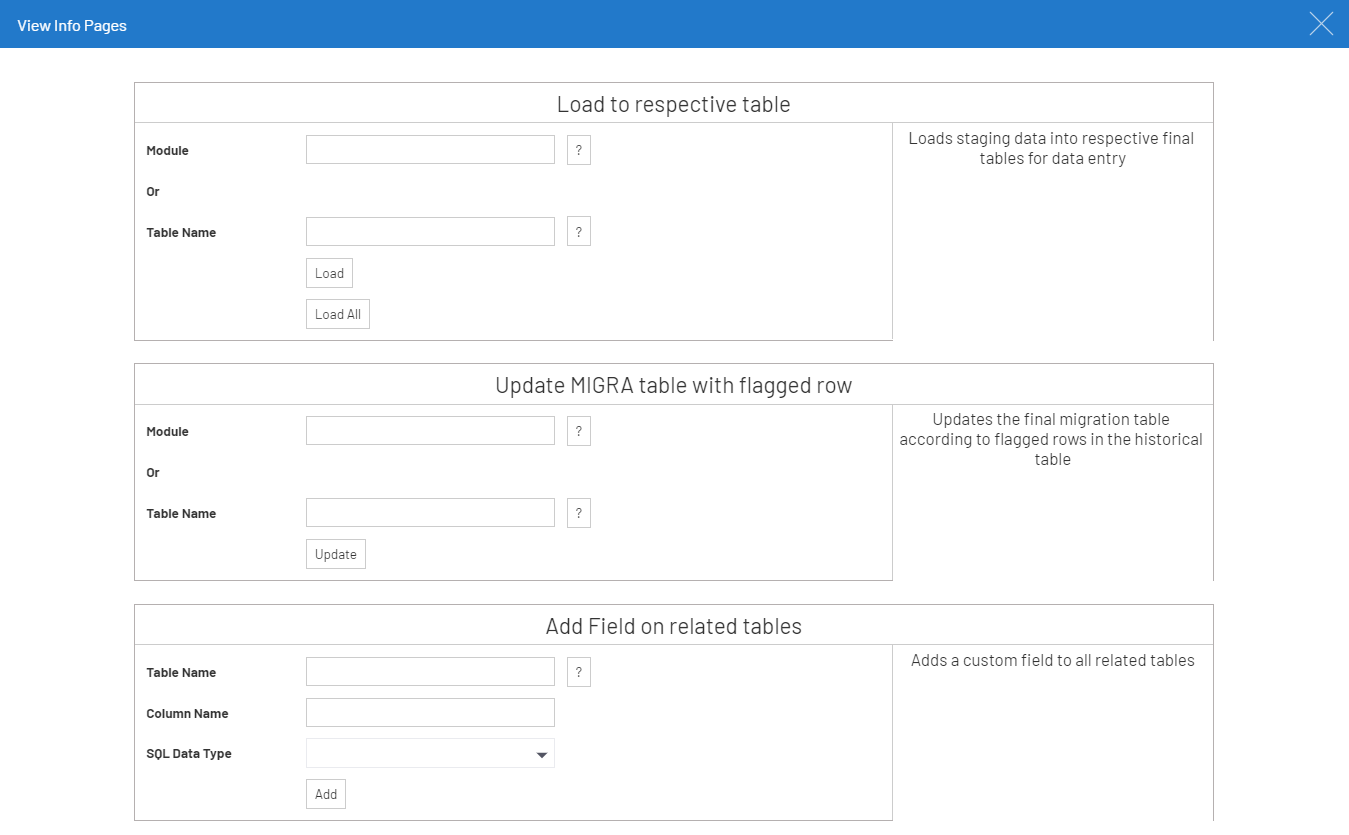
Right-click the Load Data to FINAL and HIST Tables data model and select View Info Pages.
-
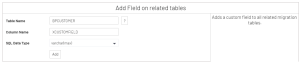
In the Add Field to the related table section, click the prompt icon
 and select the Table Name from the list.
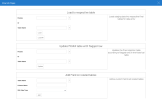
-
Enter the field in the Column Name.
To add multiple fields, insert a semi-colon (;) between each field, without spaces.
-
Select the SQL Data Type from the drop-down list; for example, varchar(max).
-
Click Add.
-
-
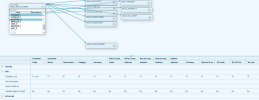
Add the field as described in the Data Model Designer:
-
Right-click the Data Model to change and select Design Data Model.
-
Select the field created in the previous step.
-
Set the properties as required.
-
Click Edit on the left and set the Edit Level parameter to 10.
-
-
Add the field to the view:
-
Open the worksheet.
-
Click the Dimensions and Measures icon on the right.
-
Drag and drop the dimension where appropriate.
-
Save the worksheet.
-
-
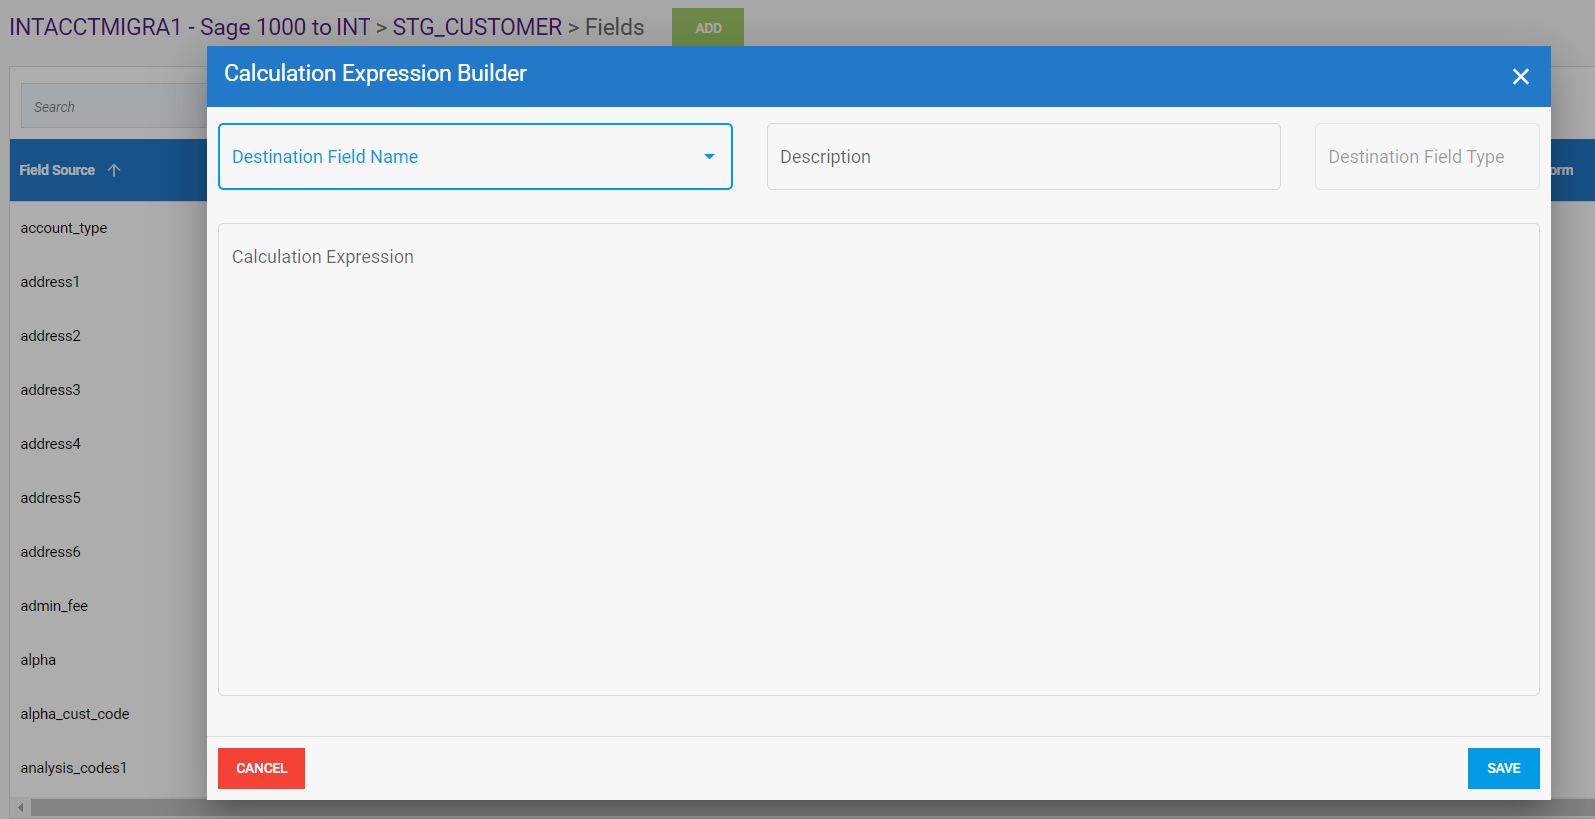
In DataSync, open Extraction 1 and map the new field(s).
-
Open the appropriate table.
-
Click the Fields link.
-
Click Add and follow the steps as described in Configuring Table Fields.
-
Click Save.

-
-
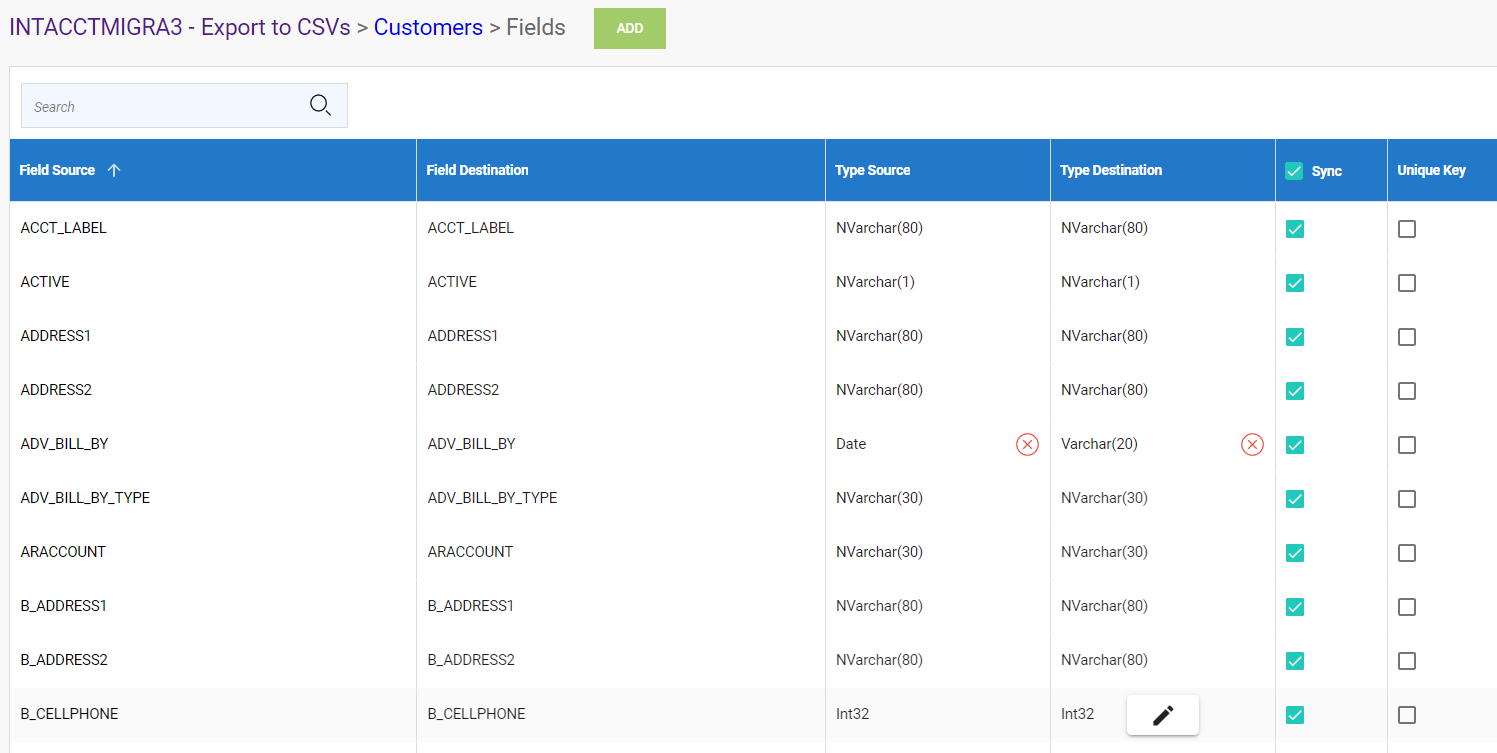
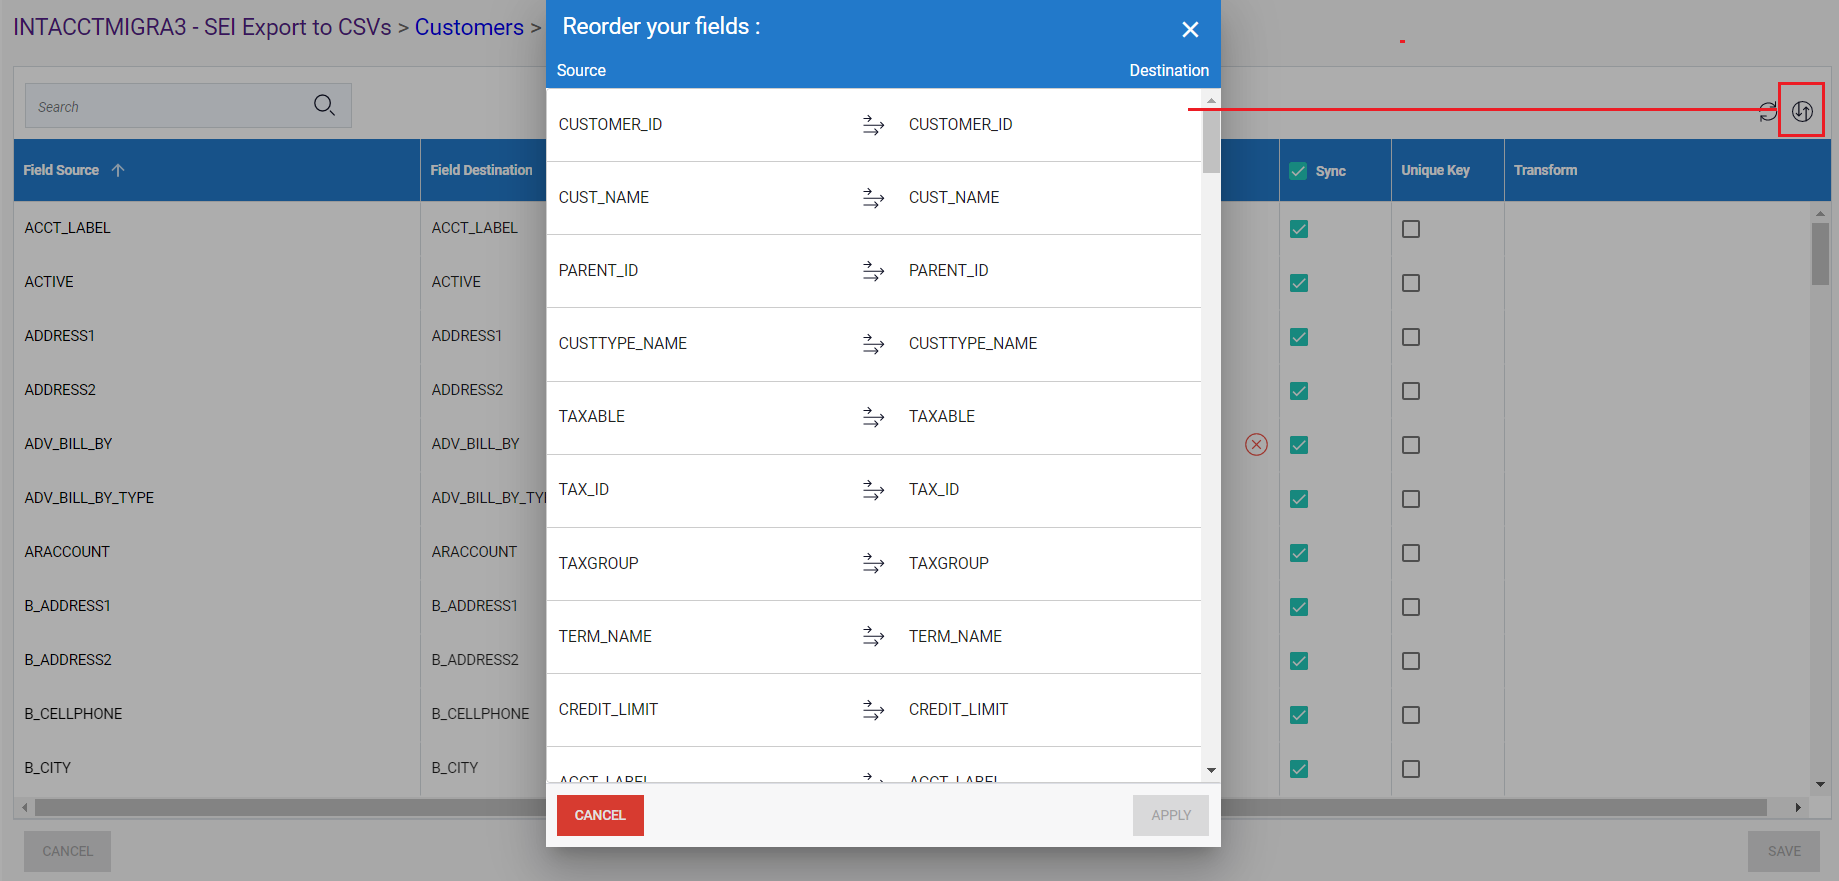
Open Extraction 3 and map the new field(s) as described in Step 4.
You can reorder the fields using the Organize Fields icon on the upper right-hand corner.