Map User Defined Dimensions to Pre-Configured Fields
- Open DataSync and locate the Glentry and Glbudgetitem tables. Select the desired User Defined Dimension fields and sync them by checking the box in the Sync column.
- Open the Extractions interface and add the Tables from step 1. The added User Defined Dimensions are shown without the Gldim prefix (e.g., Gldimpromo would now appear as Promo). The fields from the Glentry and Glbudgetitem tables should be included for the description.
- Run Validate and Build followed by Truncate and Load. Unfortunately, due to the unique nature of User Defined Dimension names, they cannot be synced automatically.
- Open Sage Intacct and navigate to General Ledger, then Configuration, followed by UDD Mapping for Live Template and finally UDD Mapping.
- Use the Prompt to map your User Defined Fields.
-
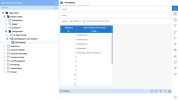
Right-click on the UDD Mapping for Live Template data model in the Data Models and Views menu (shown below), then select View Info Pages. Now, select the Map UDDsInfo Page.
-
Running the Map UDDsInfo Page updates the existing views and assigns a name from UDD01 to UDD20 to the selected User Defined Dimensions. The fields are pre-configured and already have Prompts as well as an attached description. Users can change the assigned User Defined Dimension names from within the data model if desired.
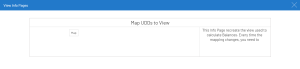

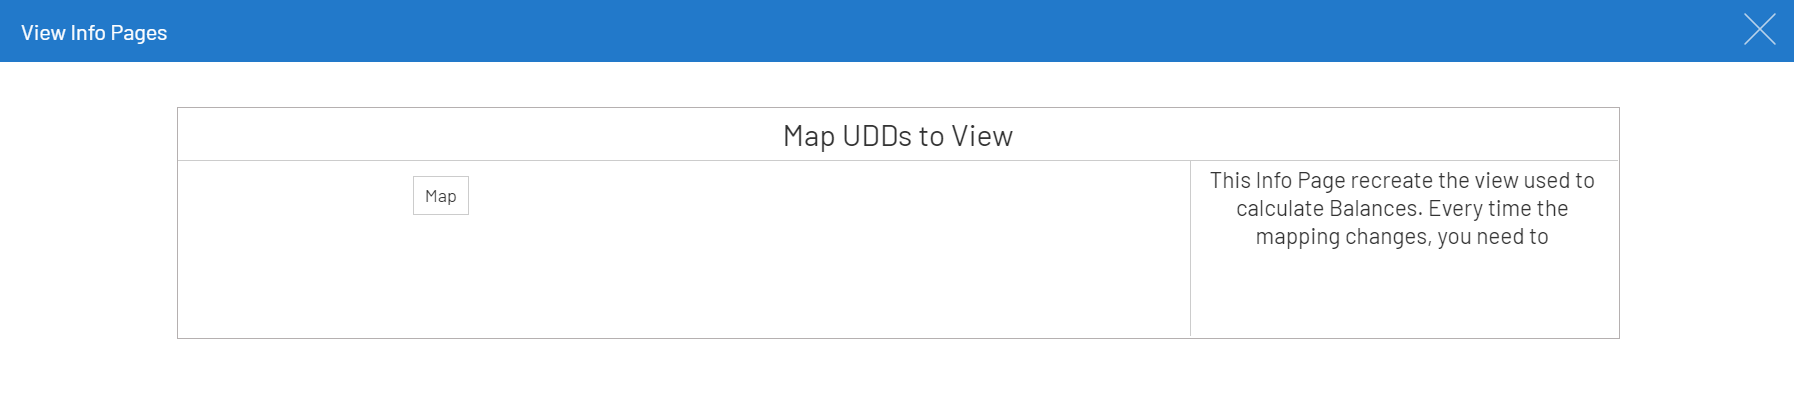
If any changes are made, please make sure to re-run the Map UDDsInfo Page.