Import Users from Sage X3
To import users from Sage X3 directly into Nectari, you must create a source and destination connection, then import the user migration extraction, and finally import the users. The steps are as follows:
Create Source Connection
In this step, connect the Sage X3 Syracuse Database using the MongoDB Connector.
-
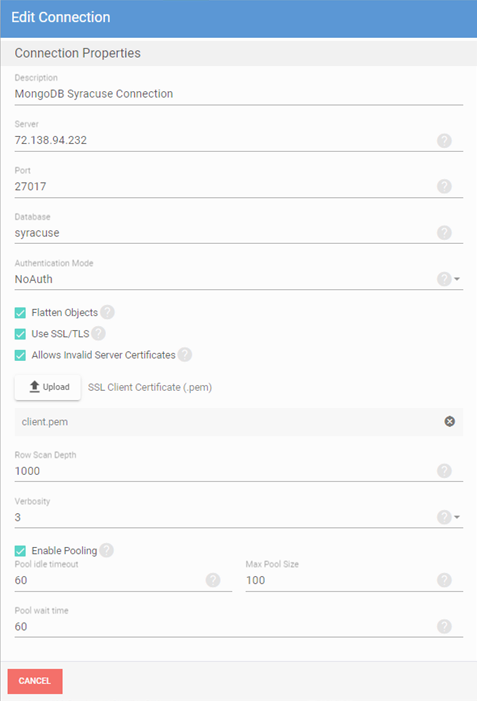
Enter the server, port (the default MongoDB port is 27017), and Database (Syracuse).
-
Select the Use SSL/TLS and Allows Invalid Server Certificates checkboxes.
-
Locate the SSL Client Certificate (.pem) file in the ..\MongoDB\certs\ directory and upload it.
Source Connection Properties
| Property | Description |
|
Description |
Enter the name for the source connection. Ex: MongoDB Syracuse Connection |
| Server | Enter the hostname or IP address of the server. |
| Port | Enter the port number of the server. |
| Database | Enter the name of the database. |
| Authentication Mode |
Set the mode of authentication for the database. Two modes are offered:
|
| Flatten Objects | Set to True to flatten object properties into column of their own. Otherwise, objects are returned as strings. |
| Use SSL/TLS | Select whether SSL/TLS encryption is used to secure the connection to the database. An SSL certificate must be provided. |
| Allows Invalid Server Certificates | Accept all certificates from the server when connecting using SSL/TLS. |
| Upload | Upload the SSL Client Certificate (.pem) file. |
| Row Scan Depth | Specify the maximum number of rows scanned. |
| Verbosity | Set the verbosity of the log file and determine the amount of details included in the file. |
| Enable Pooling |
This parameter enables connection pooling. When it is selected, the three following properties are displayed:
|
Create Destination Connection
In this step, create the destination connection using the Central Point Database (SQL/Azure).
Enter the appropriate connection properties in the Edit Connection window.

Destination Connection Properties
| Property | Description |
| Description |
Enter a description for the connection. Ex: X3 Central Point |
| Server | Enter the server for the connection. |
| Database | Enter the name of the database. |
| Username | Enter the username. |
| Password | Enter the password. |
| Connection Timeout | Set the length of the connection timeout. |
| Encrypt | Check the box to encrypt the destination connection. |
| Trust Server Certificate | Check the box to enable this setting. |
Import the X3 User Migration Extraction
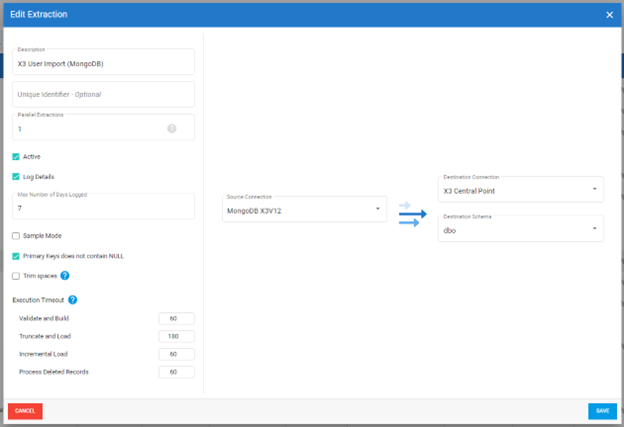
In this step, import the X3 user migration extraction.
-
Select your MongoDB connection as the Source.
-
Select your Central Point connection as the Destination, and set dbo as the Destination Schema.
Import Users from Sage X3
To successfully import users from Sage X3, you must:
-
Validate and build the extraction, then run a Truncate and Load.
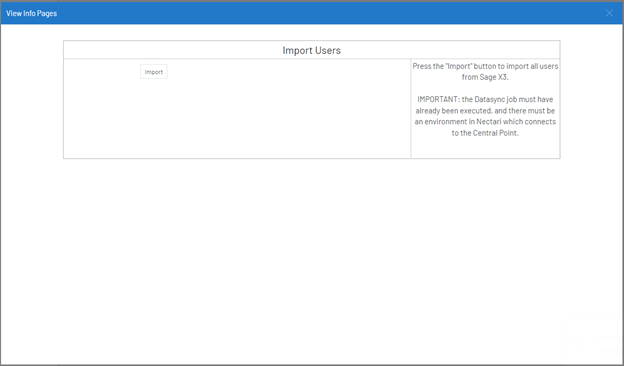
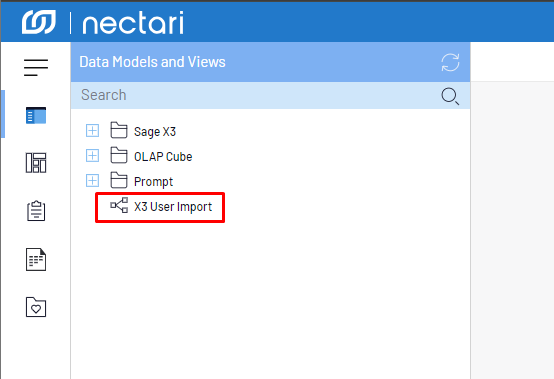
-
From the Nectari user interface, right-click on X3 User Import and select View Info Page.
-
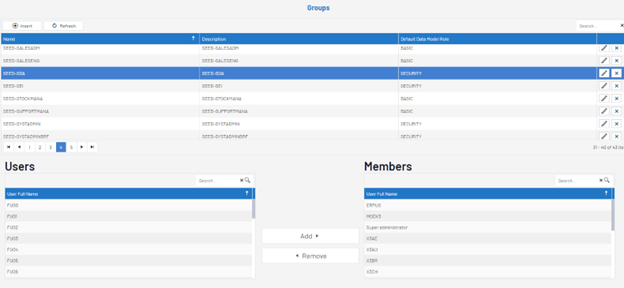
Run the Info Page to import all Users, Groups from Sage X3. Group Roles are mapped according to Sage X3 and use the default General Roles permissions in Nectari (BASIC, SECURITY, MANAGER, *NONE).