Import an Extraction
This feature allows you to import a pre-defined template or to restore a backup that you may have done yourself with the Export feature (refer to Export an Extraction for more details).
Some pre-defined templates are already available; if you don't have access to them, please contact your partner. An example of a pre-defined template you could use is the one which defines the list of tables and fields to be synchronized to send Sage 300, X3, Acumatica, Salesforce data to the Cloud.
An Extraction per Source connection you created is required to retrieve data properly.
- Click on one of the extractions in the list then on the Import icon located on the upper right-hand corner.

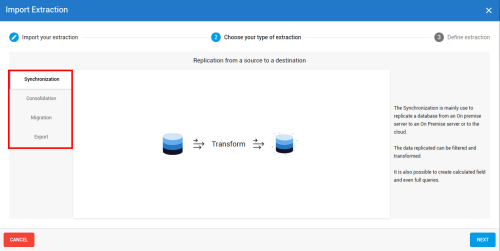
- In the Import Extraction window, click on the Choose a zip file hyperlink to browse to the location you saved the export .zip file or drag it directly into that window and click on Next.
For Sage X3, two zip files will be provided.
- If you are doing a consolidation, import the DS_EXTR_[Software-Version]_[Extraction-Version]_Sage X3 with refresh DS-CONSO.zip file.
- If you only have one Company and want to replicate the database, import the DS_EXTR_[Software-Version]_[Extraction-Version]_Sage X3 with refresh DS-SYNC.zip file to perform a synchronization.
For Sage X3, two zip files will be provided.
- Use the DS_EXTR_[Software-Version]_[Extraction-Version]_Sage X3 with refresh DS-SYNC.zip file for the Source connection with the tracking by Date and the DS_EXTR_[Software-Version]_[Extraction-Version]_Sage X3 w_o refresh DS-SYNC.zip file for the one with none.
For Sage X3, four zip files will be provided.
- If you are doing a consolidation, import the DS_EXTR_[Software-Version]_[Extraction-Version]_Sage X3 with refresh DS-CONSO.zip file.
- If you only have one Company and want to replicate the database, import the DS_EXTR_[Software-Version]_[Extraction-Version]_Sage X3 with refresh DS-SYNC.zip file to perform a synchronization.
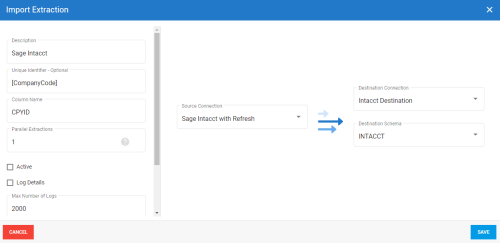
If you are doing a consolidation, make sure to have the same Column Name for the Unique Identifier field.
While there is no restriction for Sage X3, it is recommended to use CPYID for the Column Name and the Company codes for the Unique Identifier field.
For Sage X3, it is required to use CPYID for the Column Name and the Company codes for the Unique Identifier field.
For Sage X3, it is required to use CPYID for the Column Name.
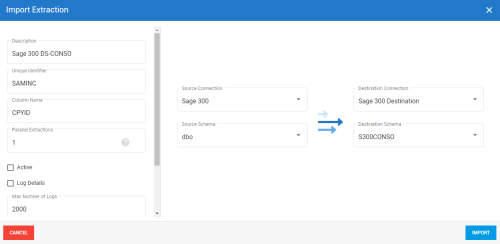
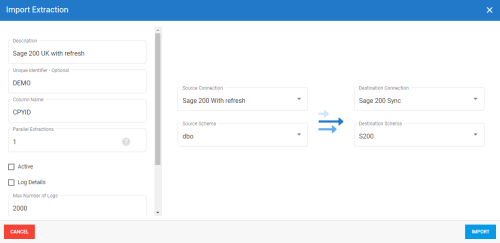
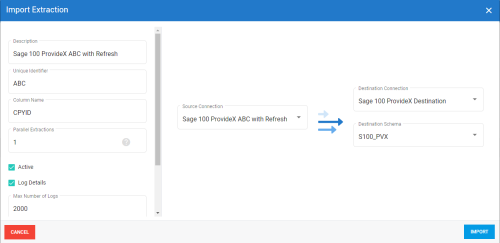
- Refer to Setup the Extraction Panel to define the extraction and click on Import to finish the process.
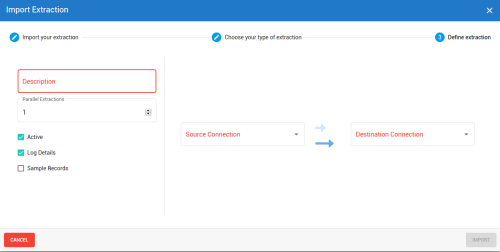
For Sage X3 Standard, the Parallel Extractions field must be set to 1 and should not be changed.
If you’ve already created Custom Fields in Sage X3, these Fields are not yet synchronized. You will need to go to each of their Tables and check the Sync box. You’ll also need to make these Fields appear in the corresponding Data Models via the Data Model Designer, by double-clicking on the Field in the related Table in order to analyze them.
The diagram below illustrates how DataSync processes data.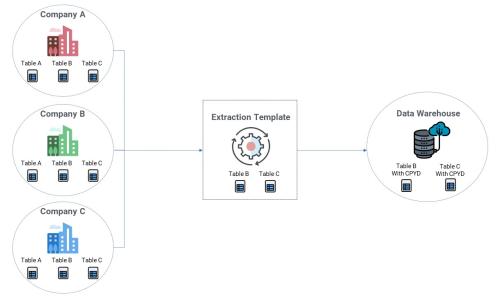
The Extractions window will automatically switch to the Tables window.
Refer to Add a SQL Query if you want to add SQL statements to some tables and Setup the Field Section to customize the fields (add calculation, change destination name etc.)
