Installing the Web Central Point Configurator
After the installation, it may occasionally become necessary to modify certain configuration details of the Central Point (for example, if there’s a change on the SQL server hosting the Nectari database, or the SMTP server). For more information, refer to Microsoft Internet Information Services.
-
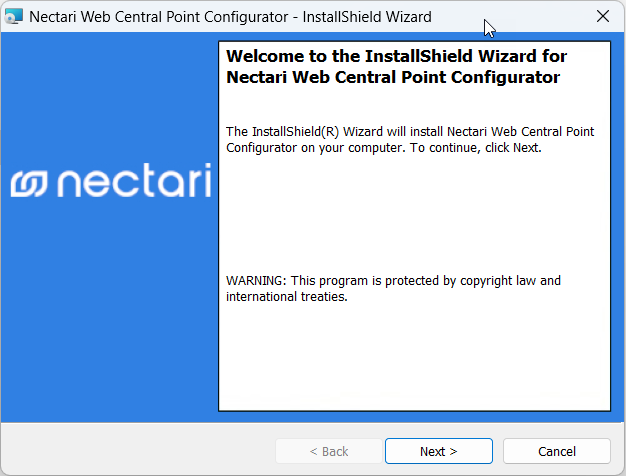
Run the application Nectari Web Central Point Configurator.exe and click Next.

-
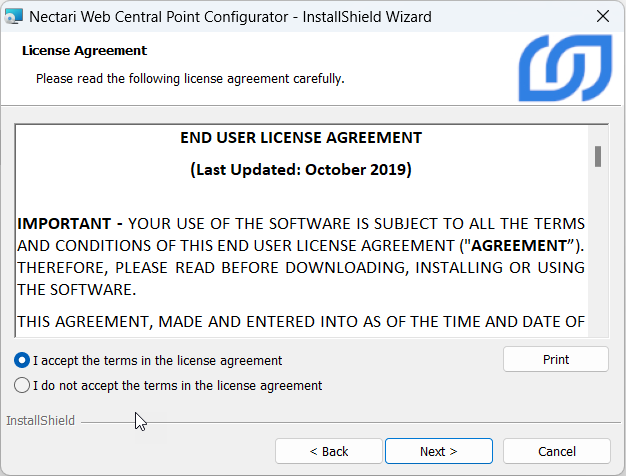
In the License Agreement screen, click I accept the terms in the license agreement and click Next.

-
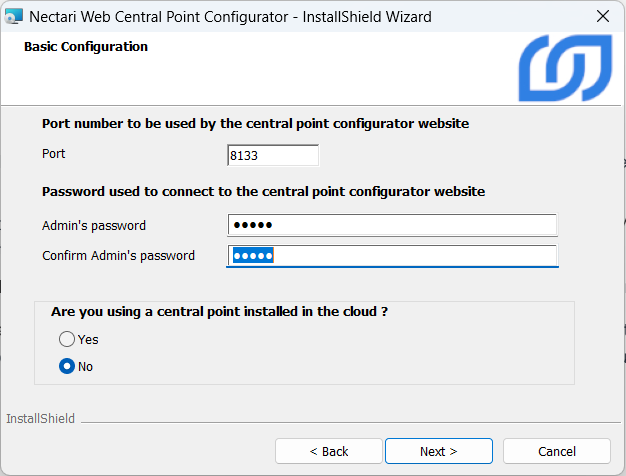
In the Basic Configuration screen, enter the configuration for the Web Central Point Configurator.

-
Port: Use port 8133 during the installation. Ensure that it is not already being used by another website; if it is, select an alternate available port.
-
Admin’s Password: This is the password that will be required when connecting to the Web Central Point Configurator site as an Administrator. Choose a password.
-
Are you using a Central Point installed in the Cloud?: Select Yes for Cloud or No for on-premise.
-
-
Depending on your previous choice, two different screens are displayed:
-
For a Cloud installation, enter the application pool credentials in the Basic Configuration screen. Choose a Windows user that has Write access to the server. It should be the user set for Scheduler API in Installing the Nectari Server (Basic) or Installing the Nectari Server (Advanced).
-
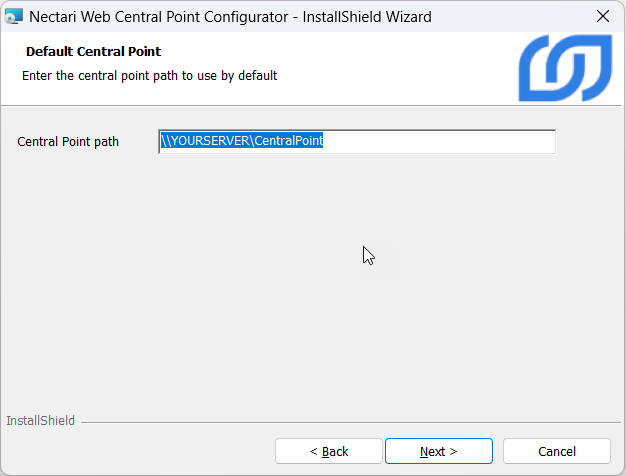
For an On-Premise installation, enter the Central Point path in the Default Central Point screen.
-
-
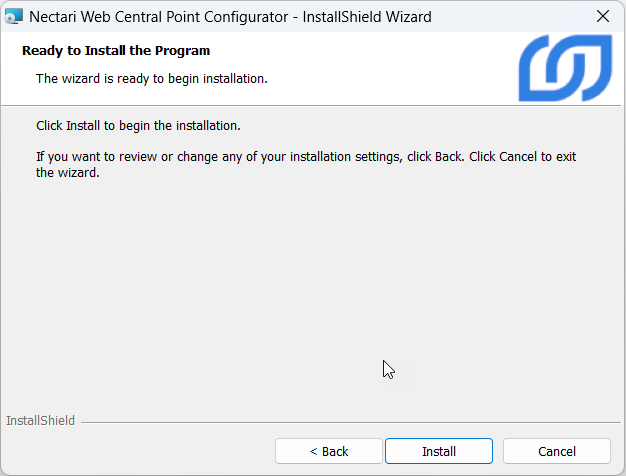
Click Install.

- When the installation is done, click Finish.